Embarking on the journey of home maintenance unfolds a treasure trove of tasks, some hidden like gems waiting to be discovered.
Among these, the care and upkeep of your hot water tank emerge as a pivotal yet often overshadowed hero in the saga of home comfort.
This guide isn’t just about how to drain a water heater quickly; it’s an odyssey through preserving the heart of your home’s warmth.
Drain hot water in your tank is akin to giving your home a refreshing sip of rejuvenation, ensuring that the warmth it provides is pure, efficient, and enduring.
Why Is Draining Your Water Heater Important?
Imagine your drain hot water tank as a venerable cauldron, brewing water and vitality for your home.
Over time, this cauldron gathers sediments akin to old tales, muddying the waters of your comfort.
If left unchecked, these sediments become the silent adversaries of efficiency and longevity, casting shadows over your tank’s performance and water heater’s lifespan.
Draining the hot water tank valve is the spell that clears these shadows, ensuring that the warmth it brews is as refreshing as the first day it flows.
How Do You Drain a Water Heater?
The quest to drain hot water tank might seem fraught with complexity but fear not.
With the right tools and the map of knowledge, it’s a journey well within your grasp.
Each step, from turning off the power to refilling the tank, is a milestone that leads you closer to the treasure of efficiency and reliability.
Whether your tank sits in the shadowed nooks of the basement or the sun-kissed corners of your utility room, a drain hot water tank breathes new life into its steel-bound heart.
Tools Required:
Your toolkit, a collection of mundane yet mighty instruments, is crucial.
A garden hose is not just a conduit for a lifespan water heater but a bridge between stagnation and flow.
A flathead screwdriver, the key to unlocking the gates of renewal. And a bucket, the humble vessel that stands ready to catch the remnants of the past, preparing your tank for a future of clarity and warmth with how to drain a water heater when it doesn’t drain.
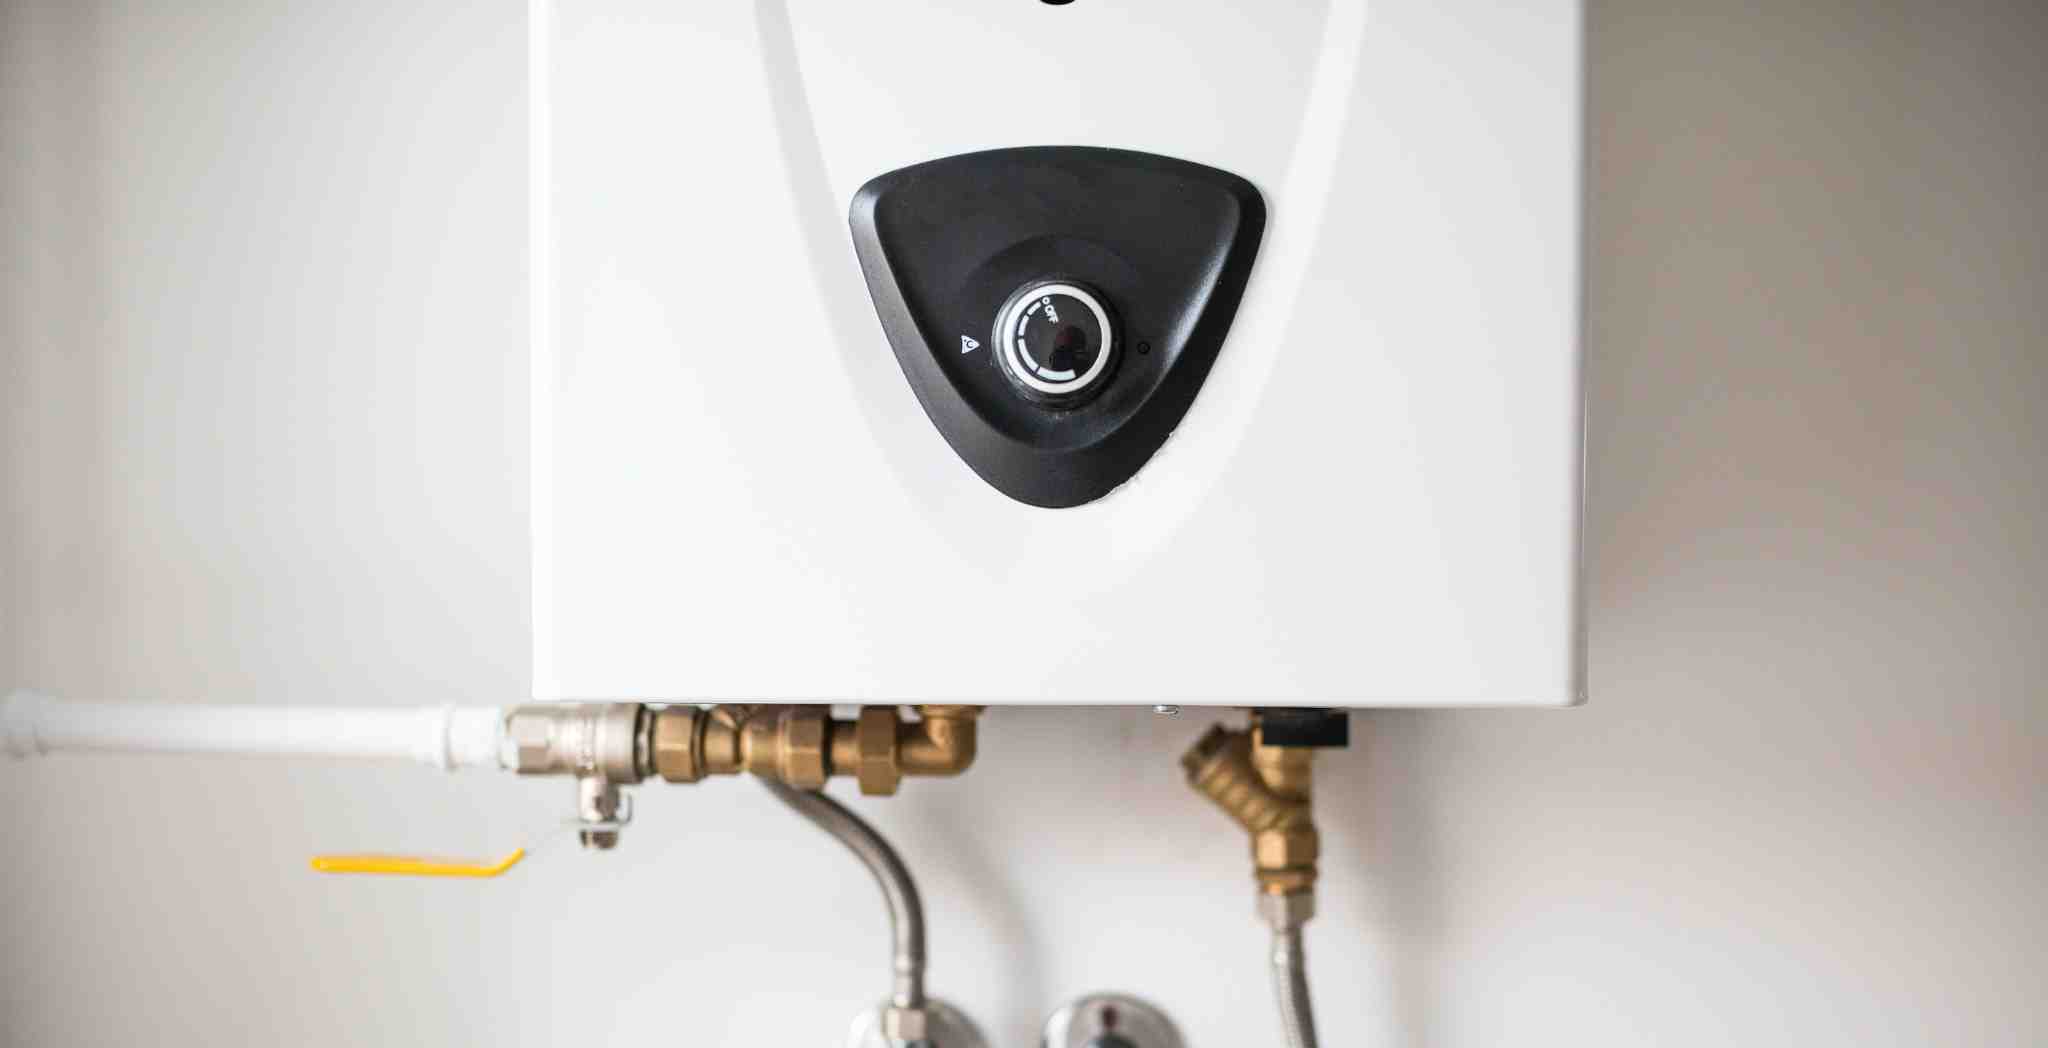
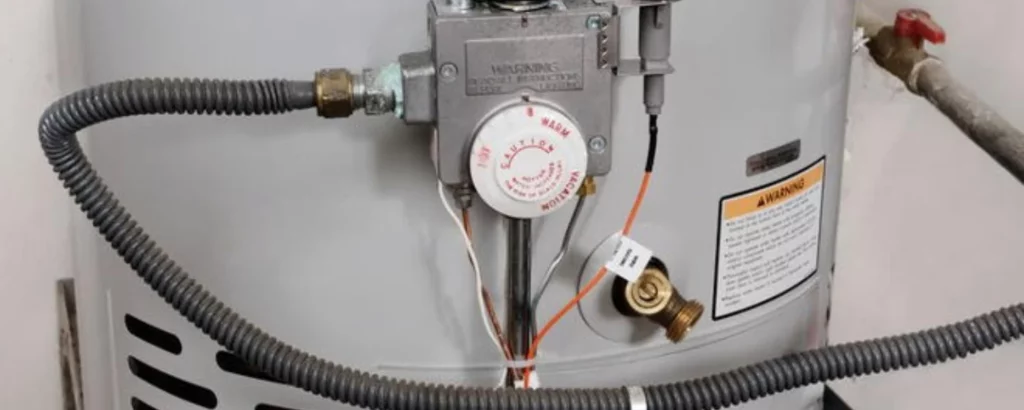
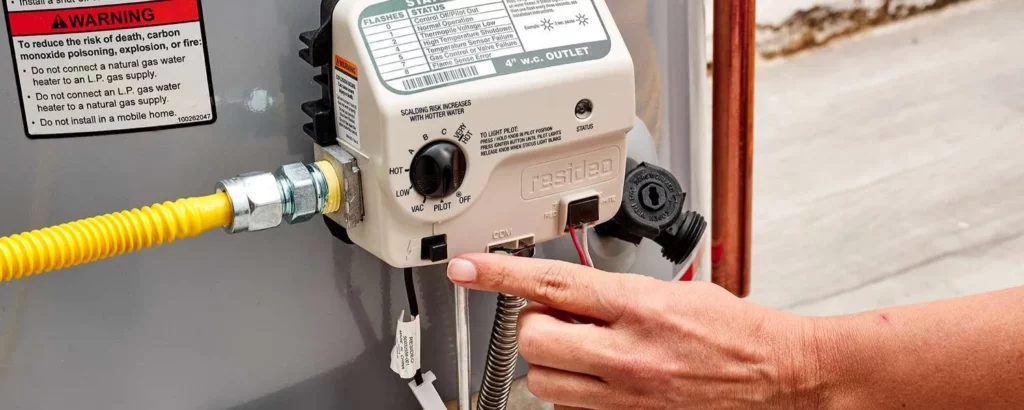
Turn Off the Power:
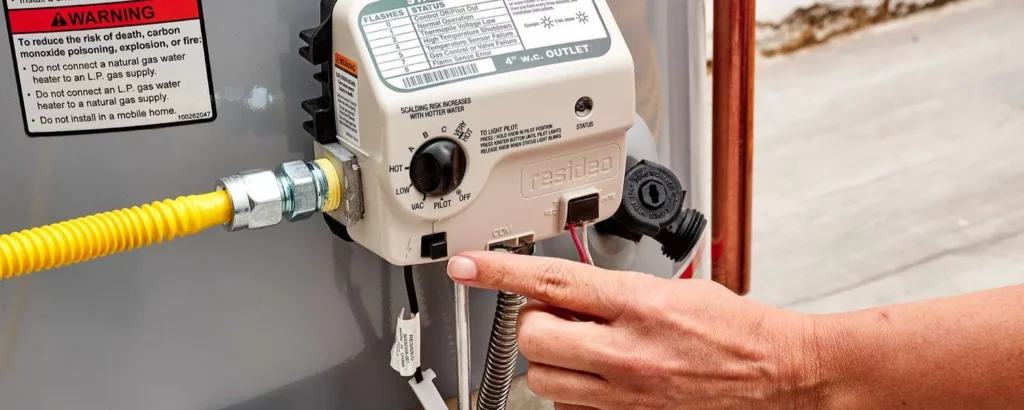
Turning off the power or setting the gas to ‘pilot’ is not merely a safety measure but a respectful nod to the elemental forces that fuel your home’s warmth.
It’s the first step in a dance of precision and care, ensuring the elements are in harmony as you embark on this renewal task.
Turn Off the Cold Water Supply:
Halting the inflow of cold water is like pausing the sands of time, creating a stillness that allows you to cleanse the depths of your tank without the ongoing rush of the new.
It’s a moment of calm, preparing the stage for the act of draining and the promise of rejuvenation that follows.
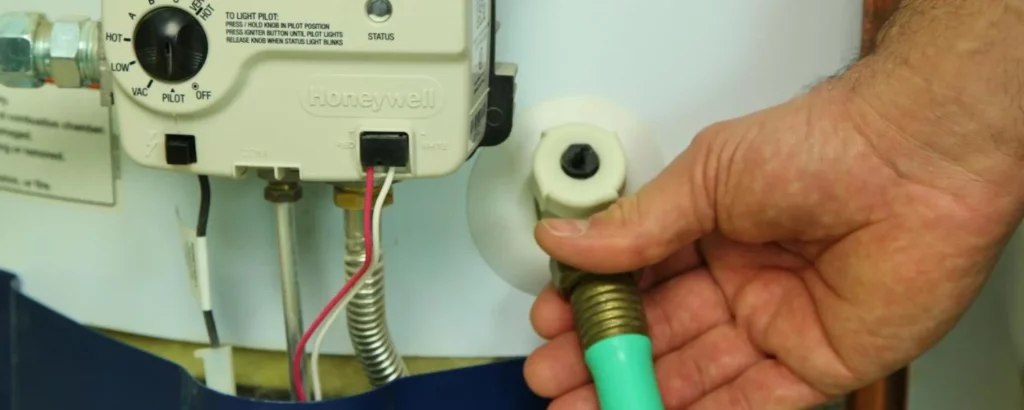
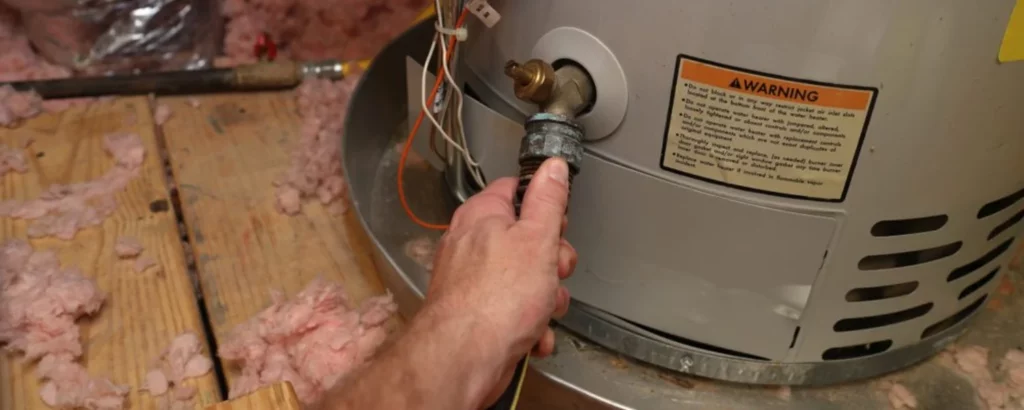
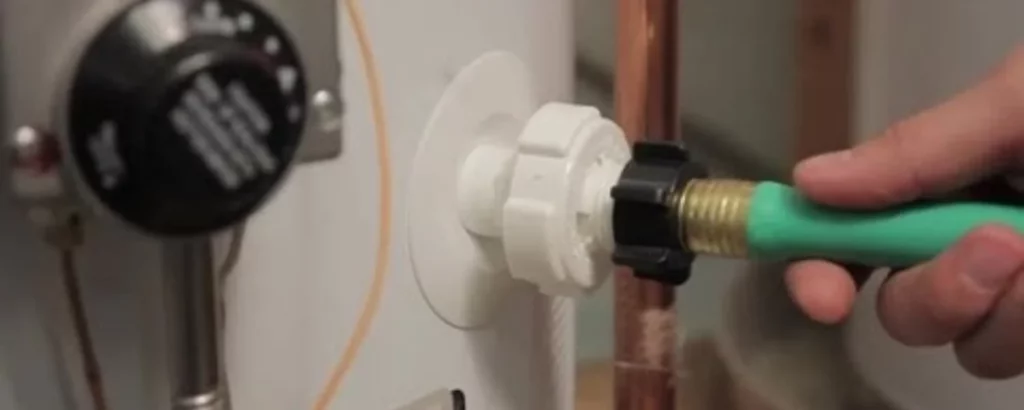
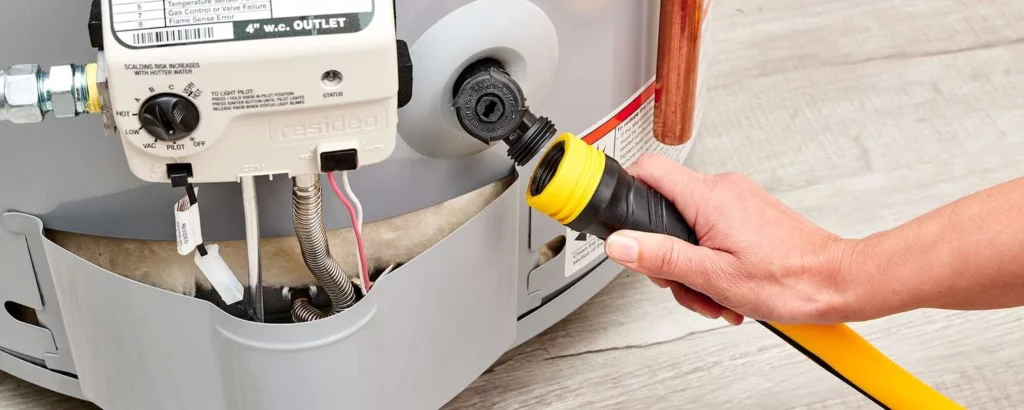
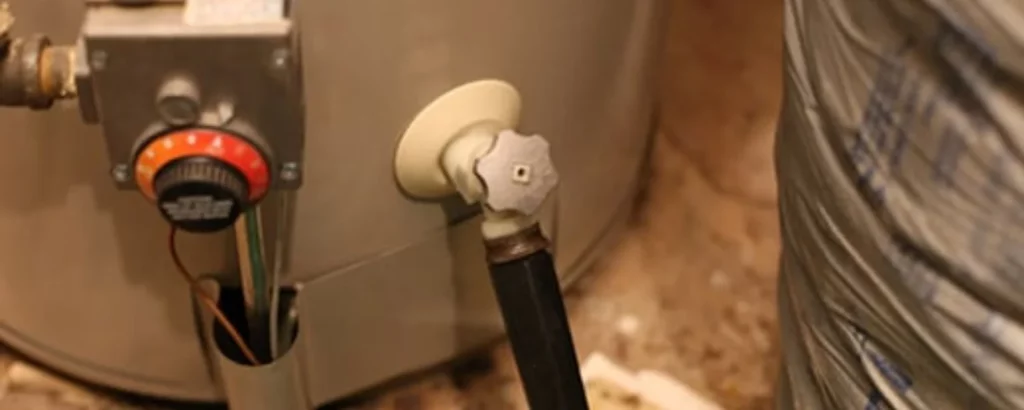
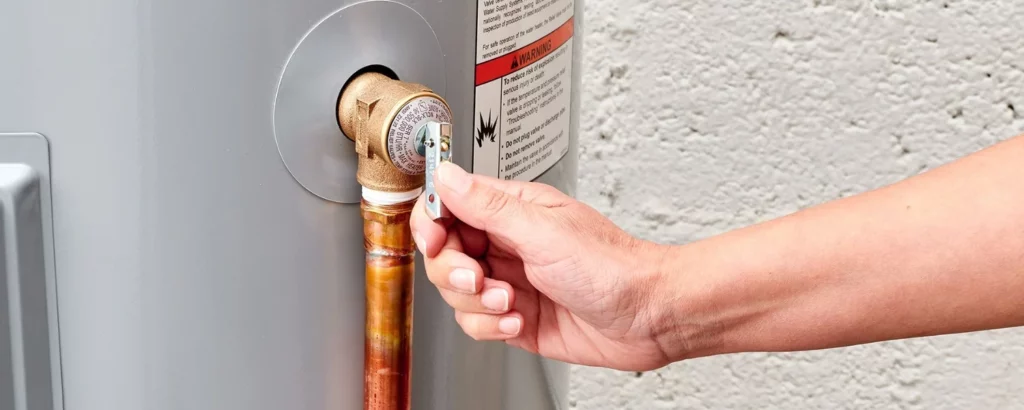
Attach a Hose to the Drain Valve:
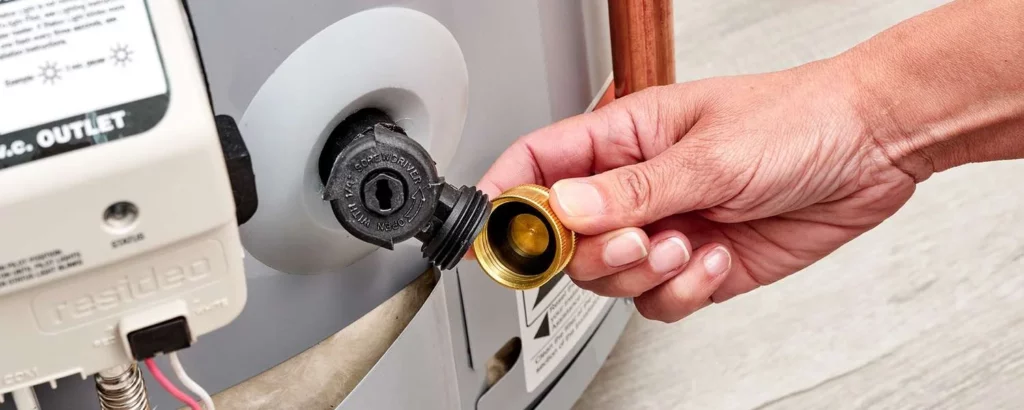
The coupling of the hose to the drain valve is a union of purpose, a tangible connection between the need to expel the old and the pathway to renewal.
This simple act is a thread in the larger tapestry of maintenance, weaving together safety, efficiency, and care.
Place the Other End of the Hose:
Where the other end of the hose lays is not just a matter of practicality but of responsibility.
It’s a decision that respects the sanctity of your home and the environment, ensuring that the water’s journey from tank to termination is thoughtful and harm-free.
Open a Hot Water Faucet:
Opening a drain hot water tank faucet within your home serves as an invitation for air, the unseen ally in this process.
It whispers through your pipes, easing the flow of water from the tank to the hose, a silent conductor orchestrating the symphony of drain hot water tank lifespan.
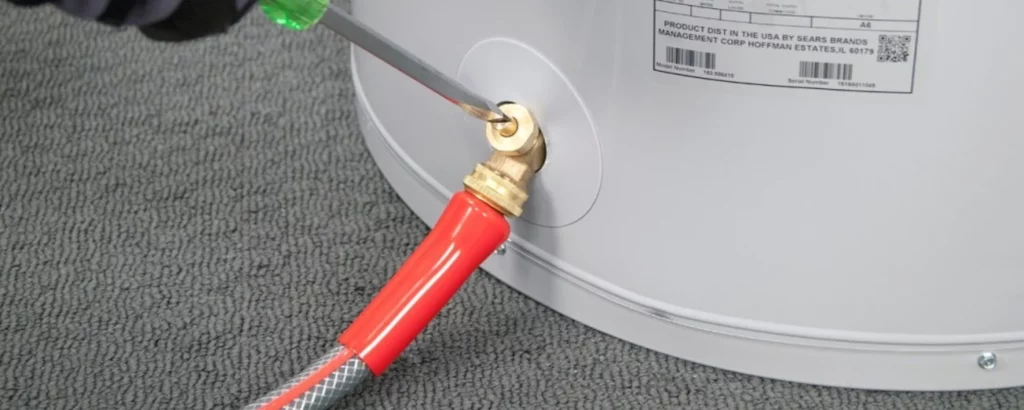
Open the Drain Valve:

Turning the drain valve is a gesture that bridges intent and action. It’s the moment when the stagnant waters begin their journey toward renewal.
It’s a release, not just of water but of the sediments of time, clearing the way for a fresh start with a drain hot water tank.
Allow the Tank to Drain Completely:
The drain hot water tank is a transition period, a visible measure of progress as the old makes way for the new.
It’s a time of patience and observation, ensuring every remnant of sediment is washed away in the waters of change.
Close the Drain Valve:
Closing the drain valve signifies the end of one chapter and the beginning of another.
It’s a reaffirmation of containment, a promise that the waters that fill your tank henceforth are the bearers of cleanliness and efficiency.
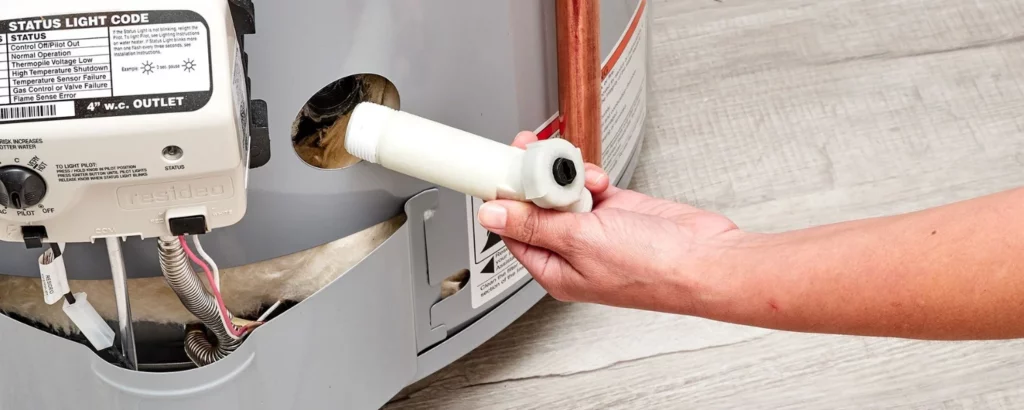
Disconnect the Hose:
The disconnection of the hose is the severing of the old from the new, a final farewell to the waters and sediments that once were.
It’s a step towards finality, ensuring the path the old exited is clear, signifying readiness for a new beginning.
Close the Hot Water Faucet:

Closing the hot water faucet in your home is the final note in the maintenance symphony.
This subtle yet significant gesture signals the completion of the water heater’s renewal.
It is the moment when equilibrium is restored, and the flow of hot water resumes its steady, reliable course, unburdened by the weight of accumulated sediments in the drain hot water tank.
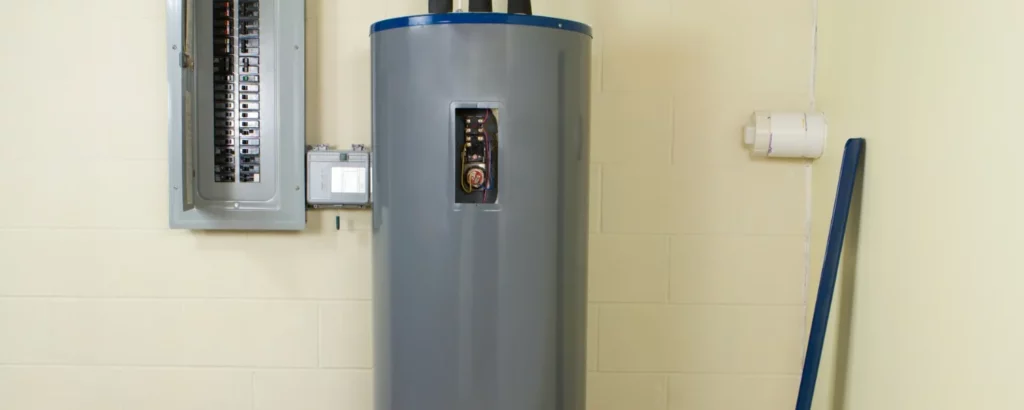
Turn On the Power:
Restoring power to your water heater or reigniting the gas flame is the spark that rekindles the warmth within your home.
This step transcends the mere flick of a switch or turn of a dial; it is the reawakening of your water heater’s soul, ready to fulfill its purpose with renewed efficiency and a heart free from the remnants of yesteryear.
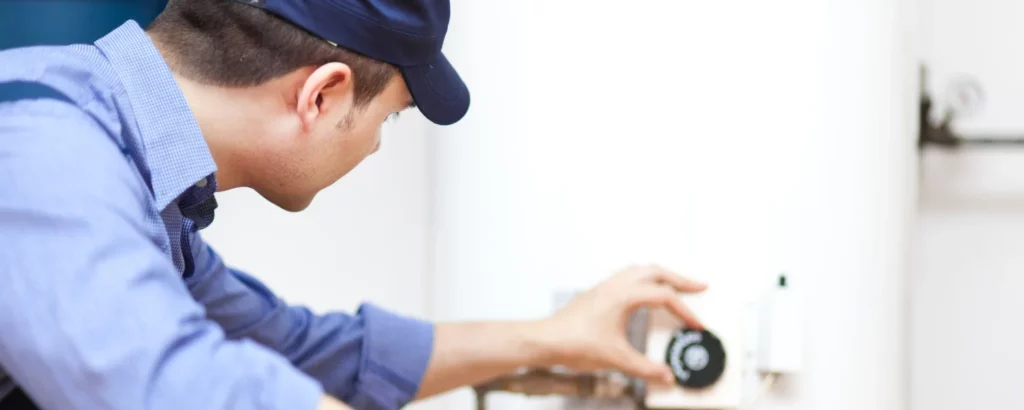
Check for Leaks:
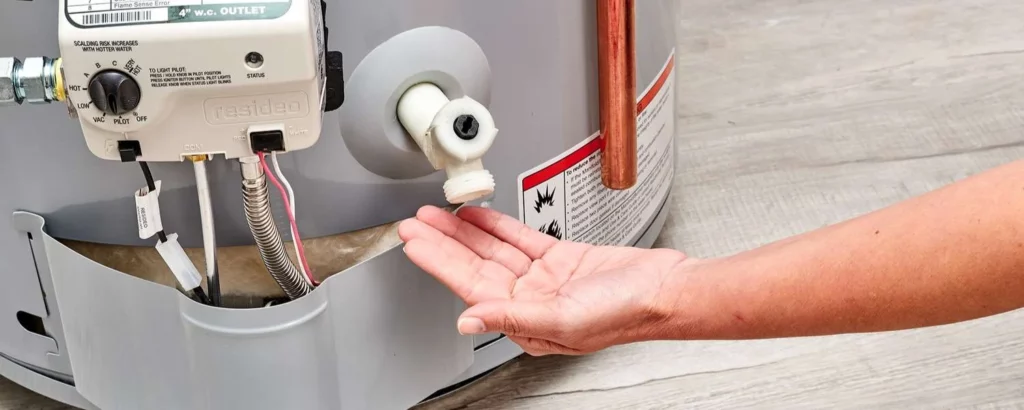
In the aftermath of the drain hot water tank odyssey, the vigil for leaks becomes a testament to your diligence.
It’s not just about ensuring the integrity of the connections but about safeguarding the harmony between your water heater and your home.
Each drop that doesn’t escape is a victory, a silent affirmation of the success of your endeavors. It ensures that the warmth within your home remains unchallenged, the drain hot water tank.
Refill the Tank:
The gradual refilling of the tank is the crescendo of this maintenance symphony, a period of anticipation and fulfillment.
It’s a visual and auditory testament to the cycle of renewal as the rising levels of water herald the return of your water heater to its prime.
When the tank embraces the fresh influx of water, this moment is a pledge of continued warmth and comfort for your home, a silent oath that speaks volumes of the care you’ve invested.
Close the Valve, Refill the Tank, Restart the Water Heater
Close the drain valve, remove the hose, and turn on the cold water supply.
The tank will begin to fill. Go back to the hot water tap opened earlier.
Once cold water begins to flow from the tap, turn it off.
Turn the gas valve back on from the pilot position or turn the electricity back on to the tank.
Be sure to check the valve opening once it’s closed to ensure there are no water leaks and how to quickly drain an electric water heater.
Caution: Some tanks must be full to avoid damage to the gas burner or radiator heating system elements.
Always read and follow all manufacturer’s directions and warnings for your drain hot water tank.
How to Increase Your Home’s Water Pressure
Don’t let your house’s poor water pressure get you down.
Take these steps to test the water flow around your home and begin to identify the cause of the issue.
Can you drain a water heater by running a hot water tank?
A water heater by running hot water affects many aspects of your home.
You might notice that your washing machine or bathtub takes longer to fill or that your garden hose lacks the pressure to cast water deep into your flower beds.
Showerheads may also be weak; water might dribble from the sink faucets.
Changes in water pressure may happen suddenly or gradually over time.
While it may take some investigation to identify the causes, improving the water pressure in and around your home is usually easy and inexpensive.
First, consider supply and demand.
When the demand exceeds supply, such as when your bathtub is filling up while you’re also watering the garden, it might seem as if your home has low water pressure when it might not.
Talk to your neighbors about their water pressure.
If you share water with your municipality and they’re also having the same issues, it can help you pinpoint whether service is causing a problem or whether it’s solely your property.
If you believe the water pressure issues are isolated to your house, continue troubleshooting by running simple tests around your home.
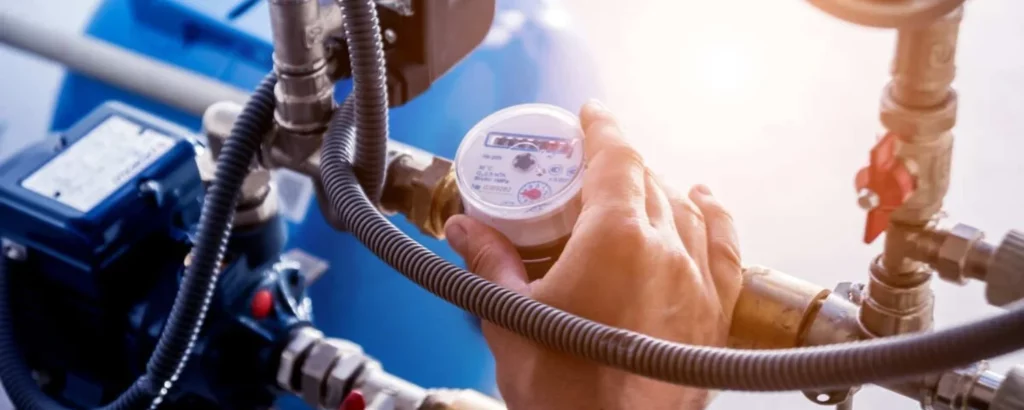
Test Your Home’s Water Pressure
Testing your home’s water pressure and flow rate is easy and inexpensive.
A water pressure test gauge can be purchased for a few dollars and fit onto an outdoor faucet.
When you turn on the hose faucet, the gauge’s needle dial will read your home’s water pressure.
A measurement of 40 to 60 pounds per square inch (PSI) is normal, but anything less than 40 PSI proves that your home has low water pressure, and the reasons should be explored further.
This initial test is a good way to baseline your water pressure.
How to Improve Your Water Pressure
Beyond testing water pressure and flow rate, a homeowner can do several other things to identify issues and improve water pressure in the home.
Check for Leaks
Water travels harder through damaged pipes.
The easiest way to tell if damaged plumbing affects your water flow is to check for leaks.
Inspect all visible pipes for moisture and signs of buildup or corrosion.
Galvanized steel pipes are particularly vulnerable to corrosion, while plastic or copper pipes are more damage-resistant.
While it may be costly, pipe replacements do more than increase water pressure.
It will also reduce the chance of future leaks and the risk of contaminated drinking water.
Check for Clogs
Over time, mineral deposits in hard water can build up and reduce water pressure.
While clogs can happen anywhere in the pipeline, homeowners can most easily find and correct clogs in showerheads and sink faucets.
Performing a flow test on your showerhead is a great way to determine if your showerhead itself is the culprit for your lousy water pressure.
Start by removing the showerhead and setting a stopwatch to 10 seconds.
Hold a bucket directly beneath the shower arm and turn on the water for 10 seconds.
If you collect between 1-1/3- and 1-2/3 gallons, your water pressure is normal so that the showerhead may be clogged.
Take the necessary steps to clean your showerhead.
If the flow you collected in the bucket is less than that, clean or replace the shower valve itself.
The faucet aerator or water restrictor is a thin mesh filter that disperses water flow on a sink faucet or kitchen sprayer.
The mesh can build up with mineral deposits over time. You can unscrew the end of your faucet or locate the filter just inside the spout and easily rinse it clean to improve water flow.
Conclusion:
The art of draining a hot water tank is more than just a routine maintenance task; it’s a ritual of renewal, an ode to the heart of your home’s warmth.
This guide, enriched with engaging and bulky insights, not only explains how to quickly drain a hot water tank without a drain valve or an electric water heater but also imbues the process with a deeper sense of purpose and satisfaction.
Remember, the essence of home maintenance lies not just in our actions but in the comfort, efficiency, and peace of mind they foster.
As you close this chapter, know that your efforts have breathed new life into your water heater, ensuring that it continues to serve as a steadfast beacon of warmth and comfort in your home.
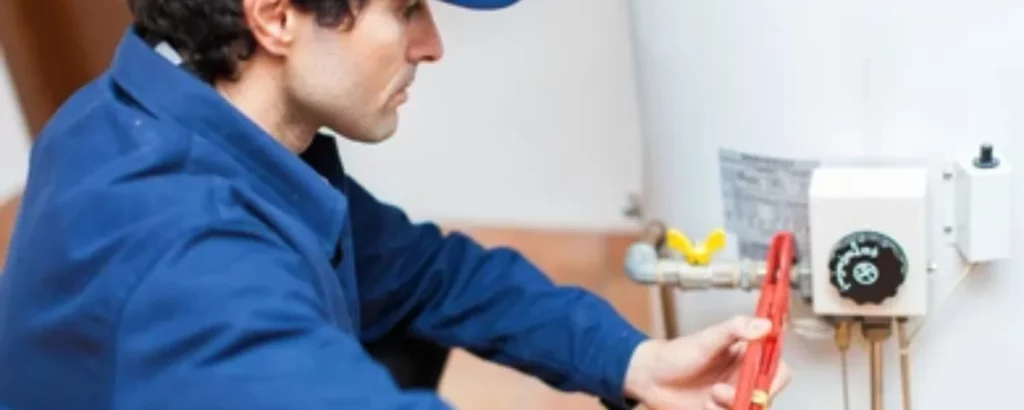
Should you need professional assistance or advice with your water heater or any other aspect of home mechanical systems, LIFE MECHANICAL is here to help.
Based in Victoria, BC, Canada, we’re just a phone call away at 250 418 5139, or you can visit us online at https://lifemechanical.ca/ for more information on our services. Our team of experts is dedicated to ensuring your home remains a sanctuary of comfort and reliability.