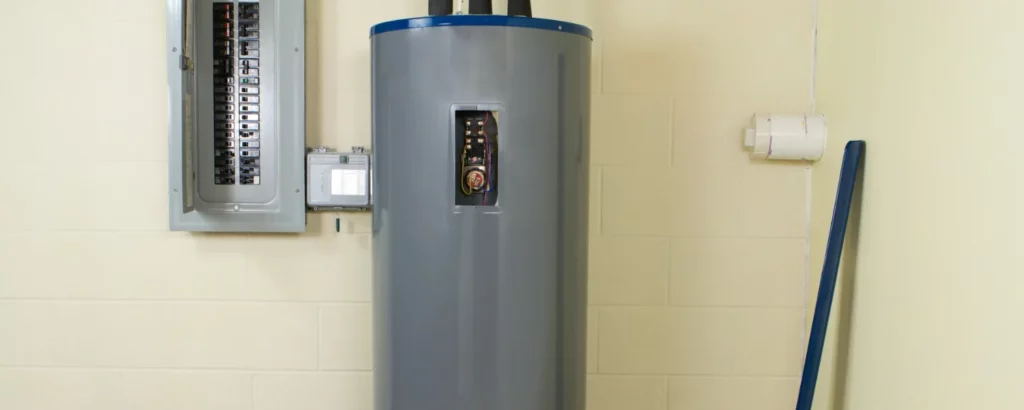
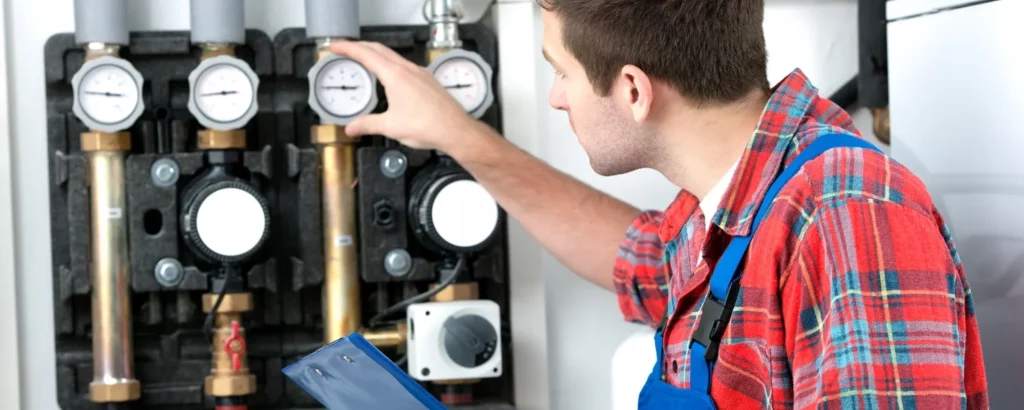
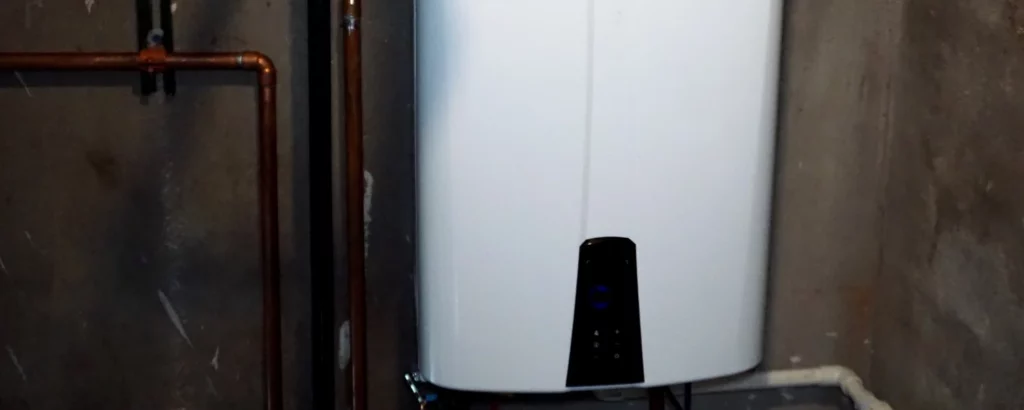
If you’re a homeowner, understanding how to maintain your water heater properly is crucial for its longevity and efficiency.
One essential aspect of water heater maintenance is draining the tank periodically.
In this blog post, you’ll learn how to drain your hot water tank like a pro, ensuring it performs optimally and lasts longer.
How Often Should You Drain a Water Heater?
Determining how often you should drain your water heater depends on various factors, including water hardness, usage patterns, and the age of your system.
Typically, draining your water heater annually is advisable to uphold its peak performance and extend its longevity.
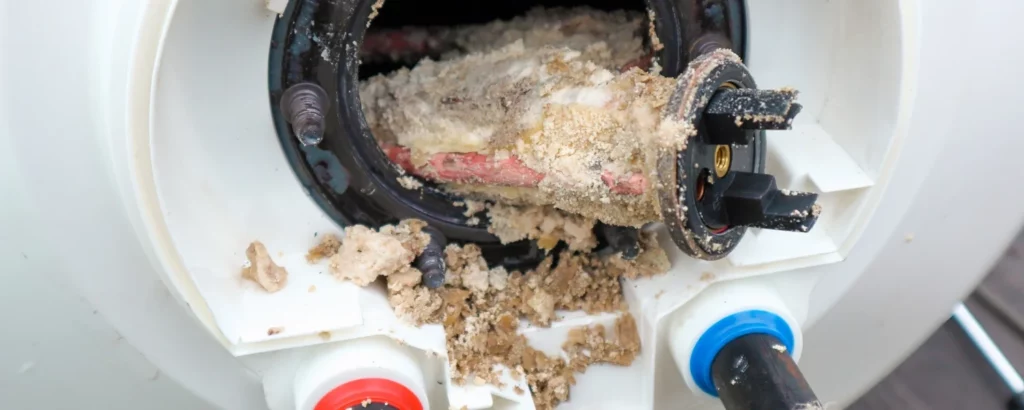
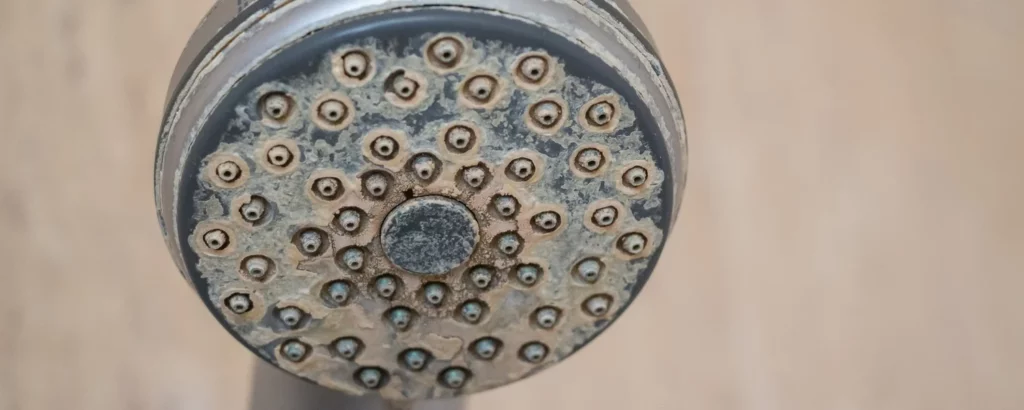
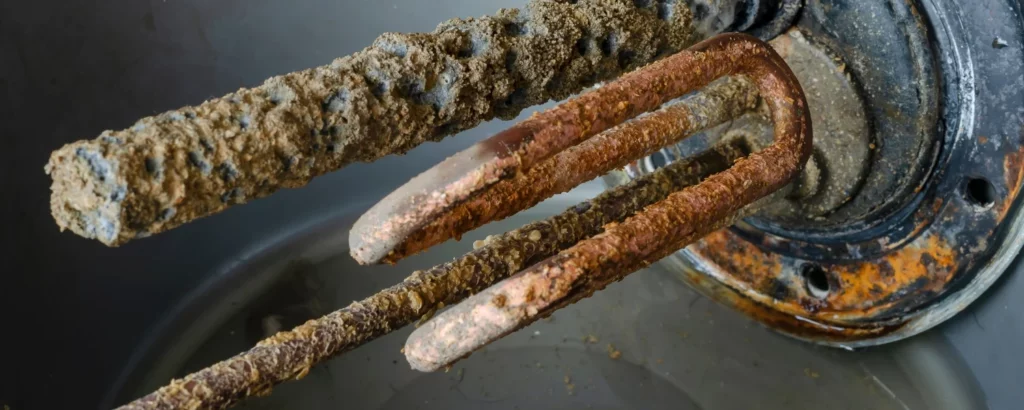
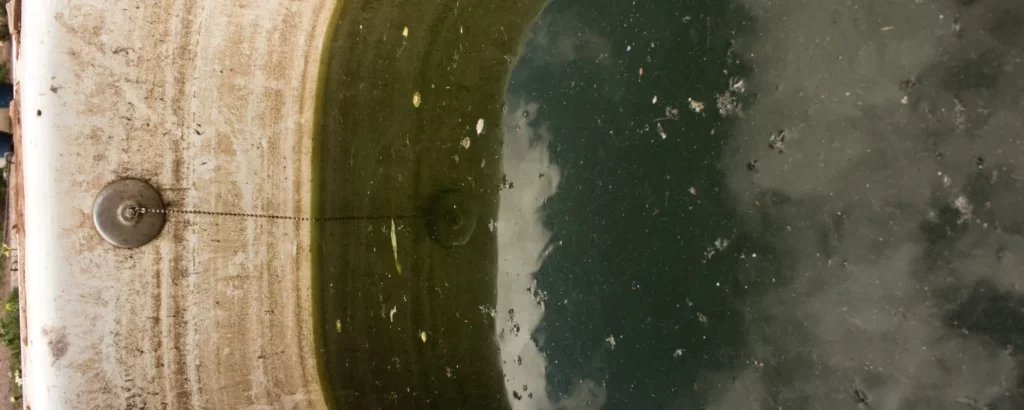
Water hardness plays a significant role in sediment buildup within the tankless water heater.
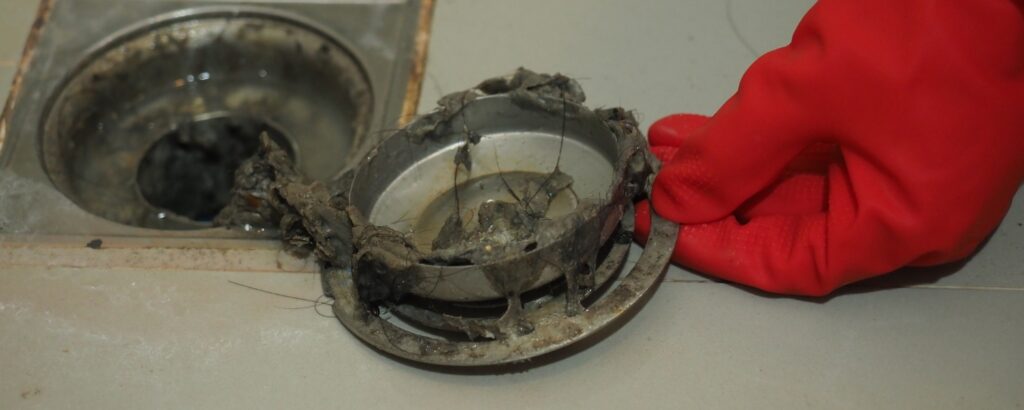
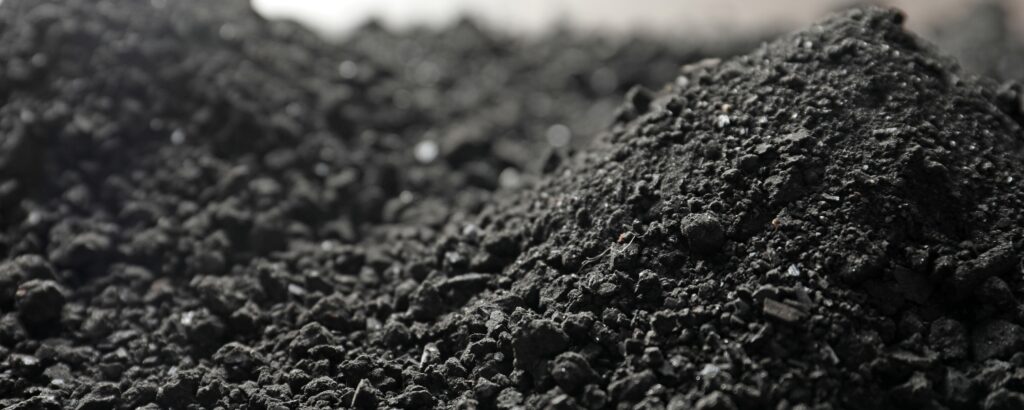
Over time, hard water, abundant in minerals such as calcium and magnesium, tends to separate and build up at the bottom of the tankless heater.
This sediment accumulation insulates the heating elements or burner, reducing efficiency and potentially leading to overheating or damage.
Moreover, usage patterns influence the frequency of draining.
Homes with high hot water demand or areas with particularly hard water may benefit from more frequent draining.
Signs that your water heater needs draining include decreased water temperature, unusual noises during operation, or visible sediment in the water.
The age of your water heater also impacts the necessity of draining.
Older units may require more frequent maintenance to ensure optimal performance.
Routine draining can help prevent corrosion, extend the life of your water heater, and reduce the likelihood of unexpected breakdowns.
Ultimately, while draining your water heater annually is a good starting point, monitoring your system’s performance and adjusting the frequency as needed is essential.
Regular maintenance, including draining, flushing, and inspecting the tank, is key to preserving your water heater’s efficiency and longevity.
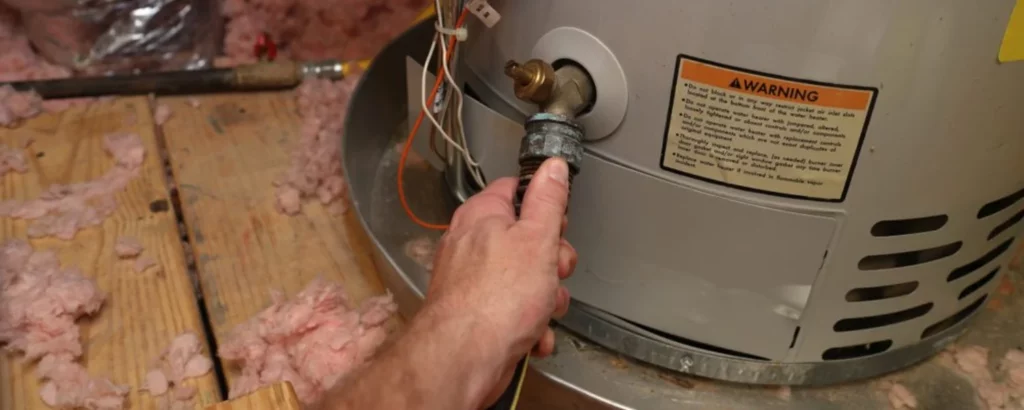
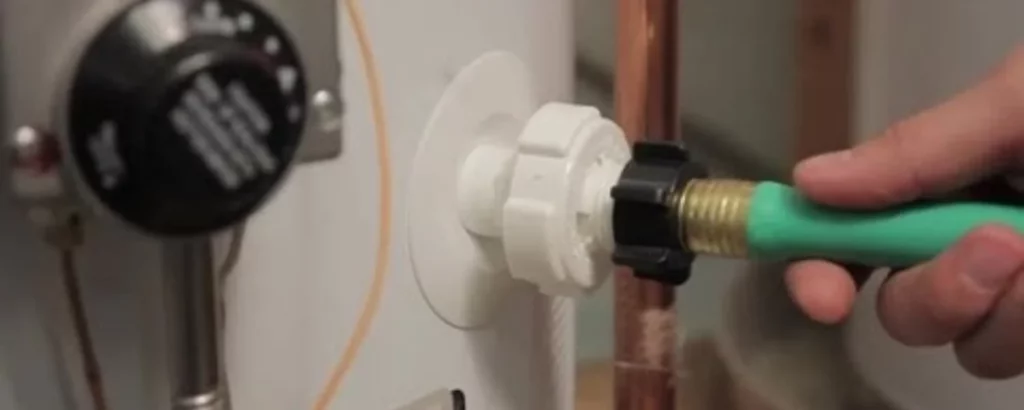
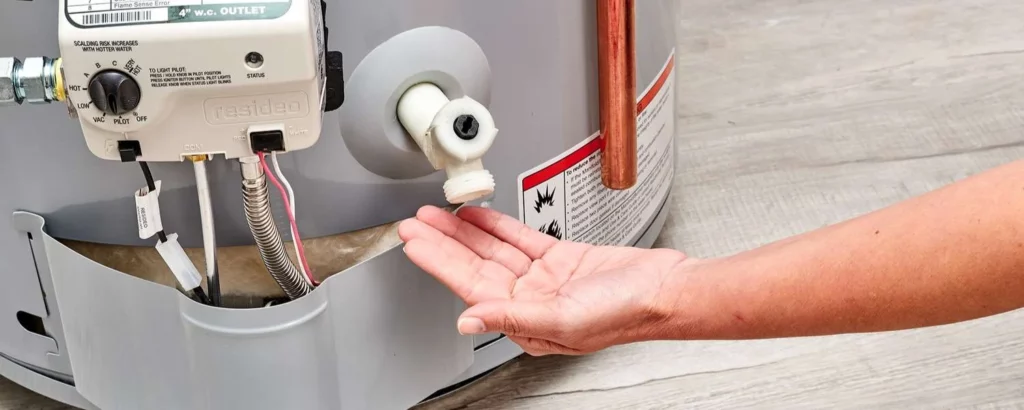
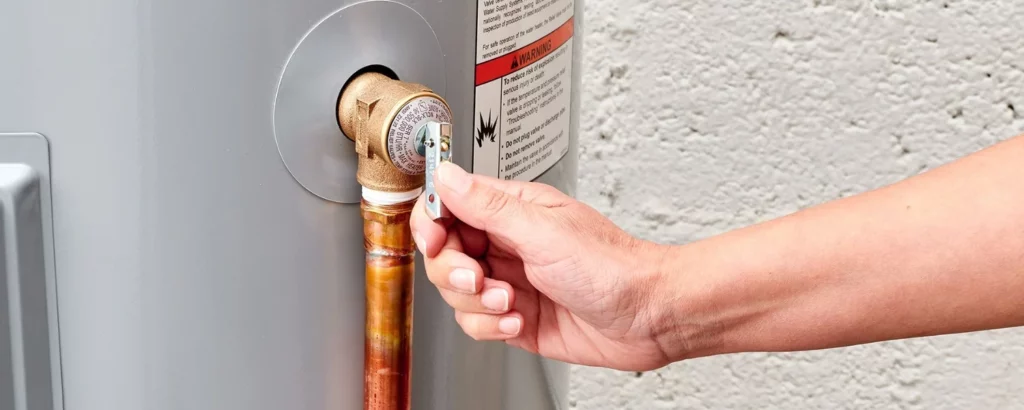
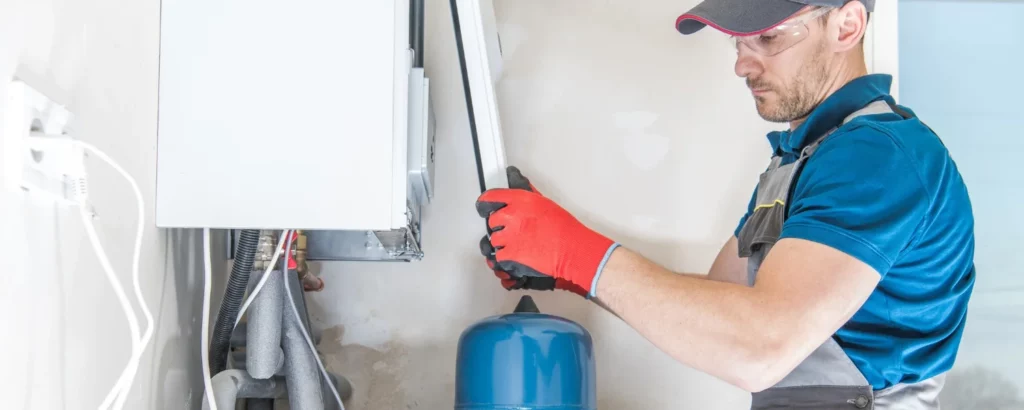
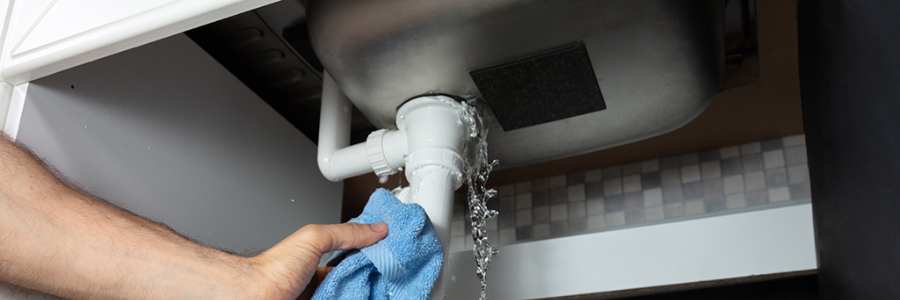
Turn Off the Water Supply
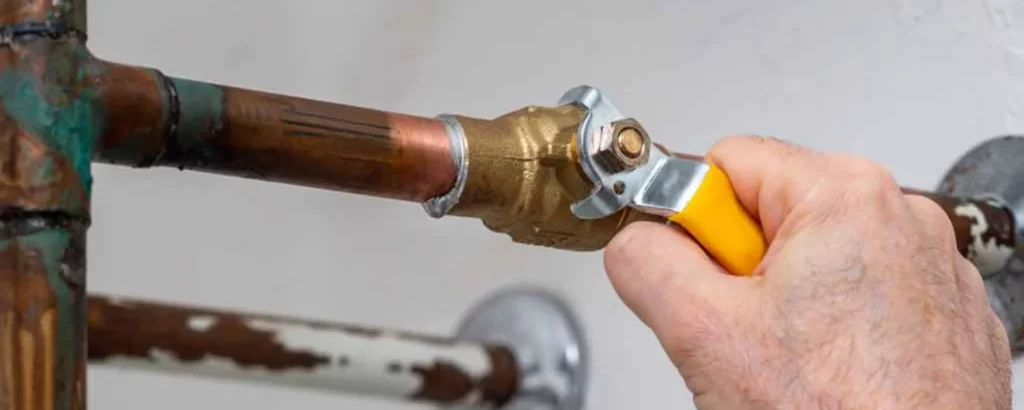
Switching off the water supply is crucial in the process of draining a water heater, ensuring both safety and efficiency for plumbing and heating services. To begin, locate the cold water supply valve, typically found near the top of the water heater.
This valve controls the flow of water into the system, whether it’s a traditional or tankless water heater.
By turning the valve clockwise, you shut off the water supply, preventing any additional water from entering the heater during the draining process.
This step is essential for emergency furnace repair or water heater service, as it helps avoid potential leaks and ensures smooth drainage.
Moreover, turning off the water supply reduces the risk of damage to the heater and its surrounding area.
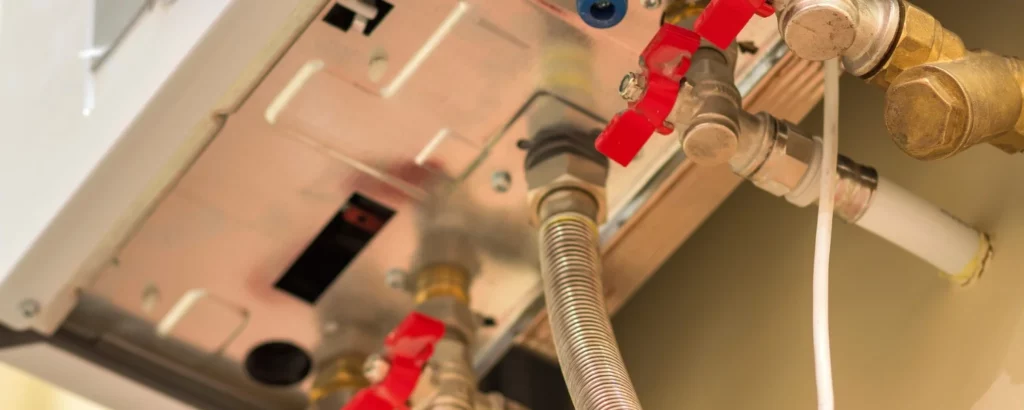
For gas water heaters, it’s equally important to turn off the gas supply before proceeding with the draining process, adding an extra layer of safety.
This straightforward yet crucial action lays the foundation for effective water heater maintenance, enhancing the durability and effectiveness of your plumbing system.
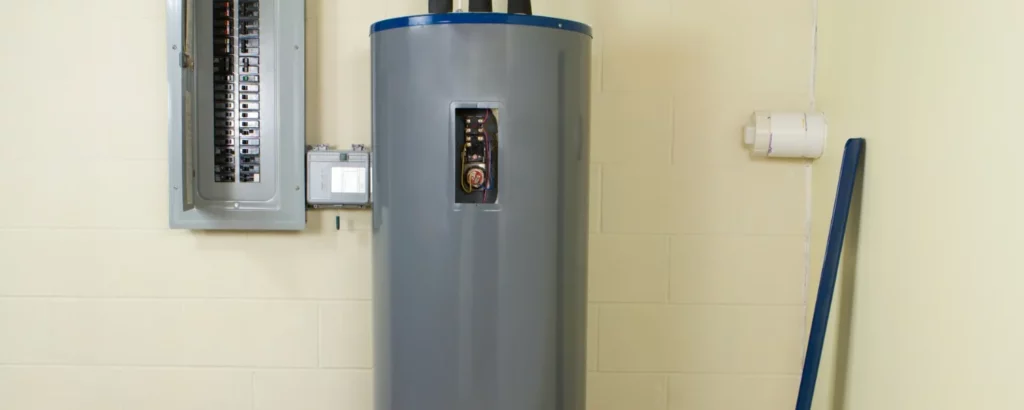
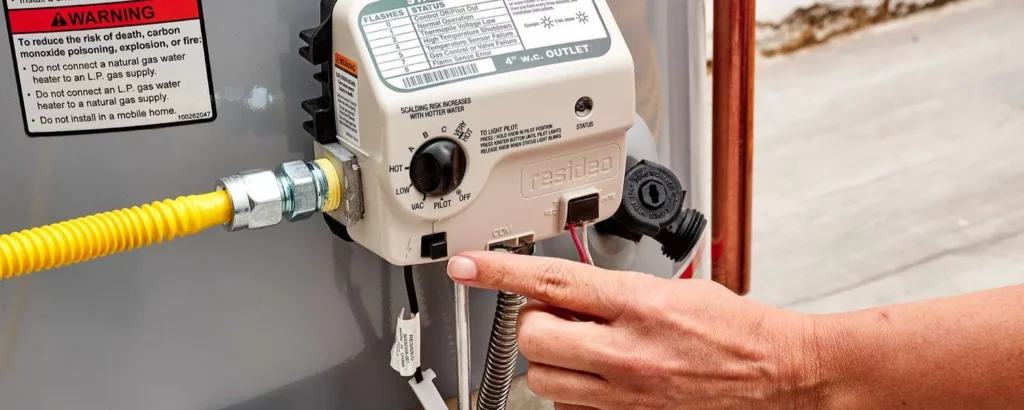
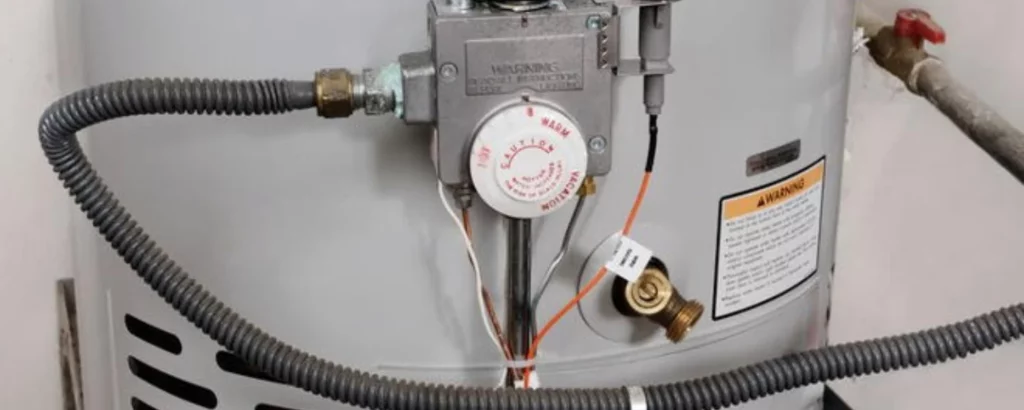
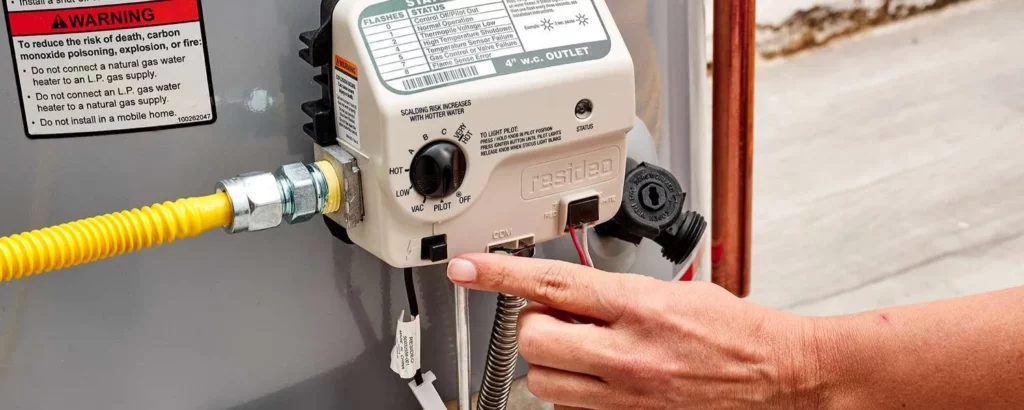
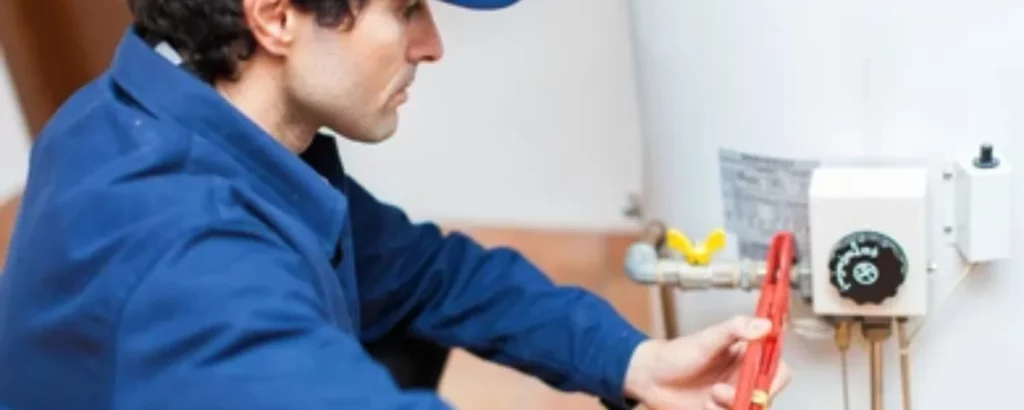
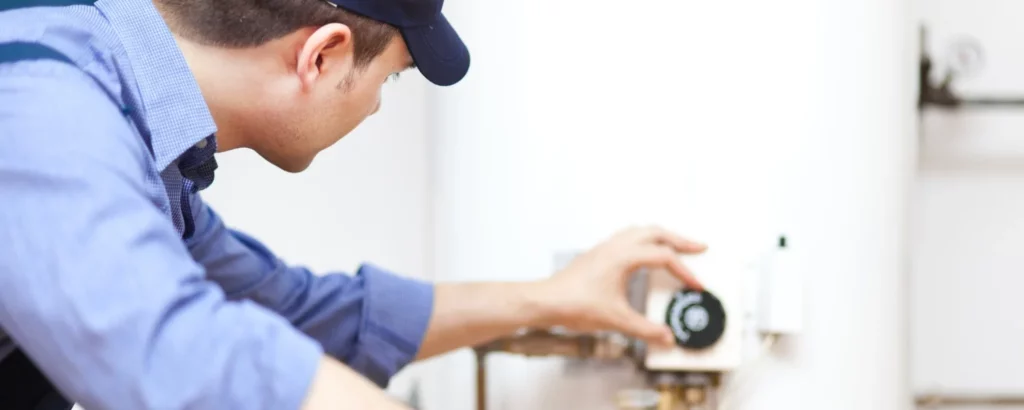
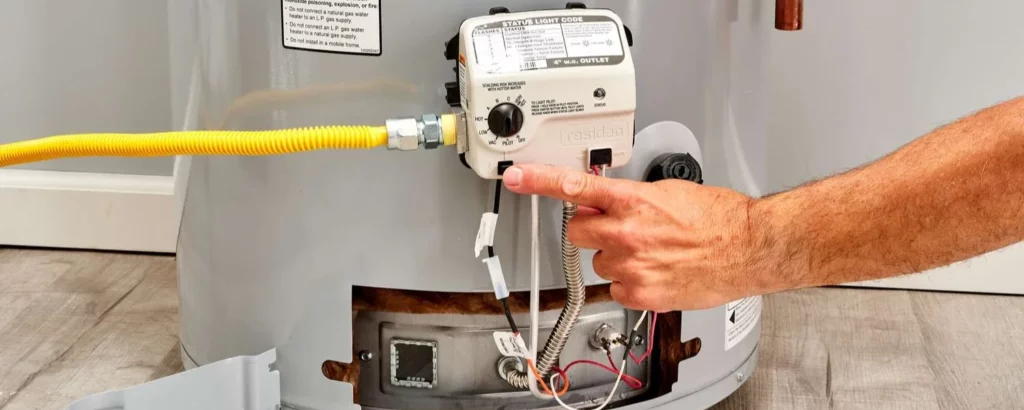
Turn Off the Water Heater
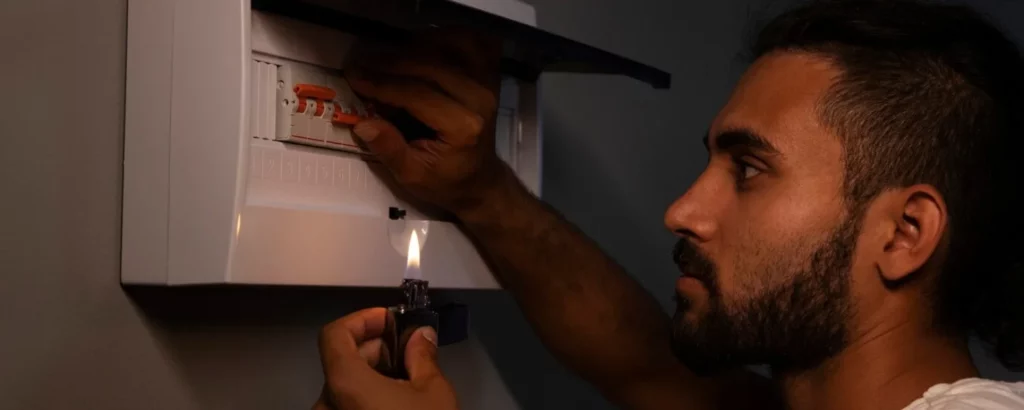
Turning off the water heater is crucial to draining it and maintaining its efficiency and longevity.
For electric water heaters, locate the circuit breaker connected to the heater and switch it off to cut the power supply.
This prevents the heating elements from functioning during draining, ensuring safety and efficiency.
Similarly, locate the gas control valve for gas water heaters and turn it to the “off” position to shut off the gas supply.
This step is essential to prevent the burner from igniting while the tank is drained, reducing the risk of accidents.
Turning off the gas to drain a water heater safely is crucial, as gas leaks can be hazardous.
Properly turning off the water heater before draining it can ensure a smooth and safe maintenance process.
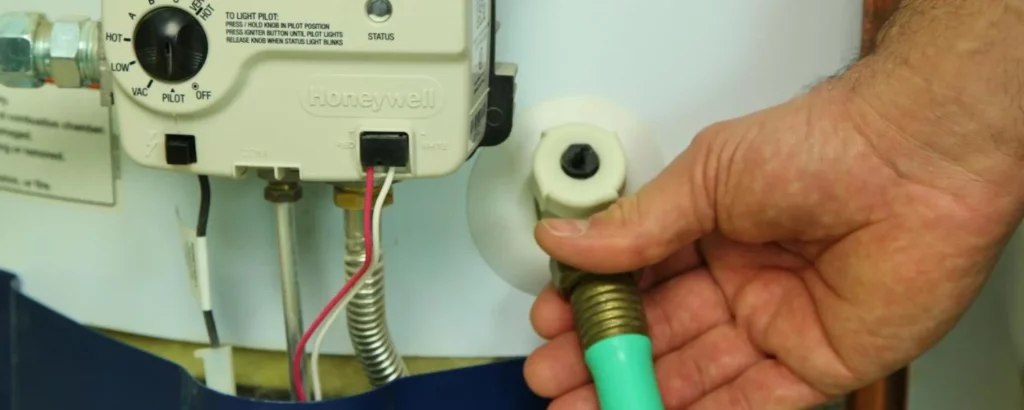
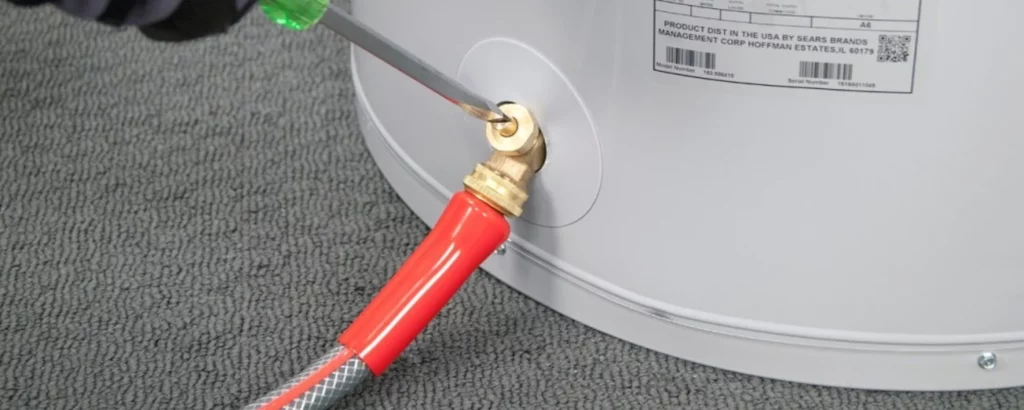
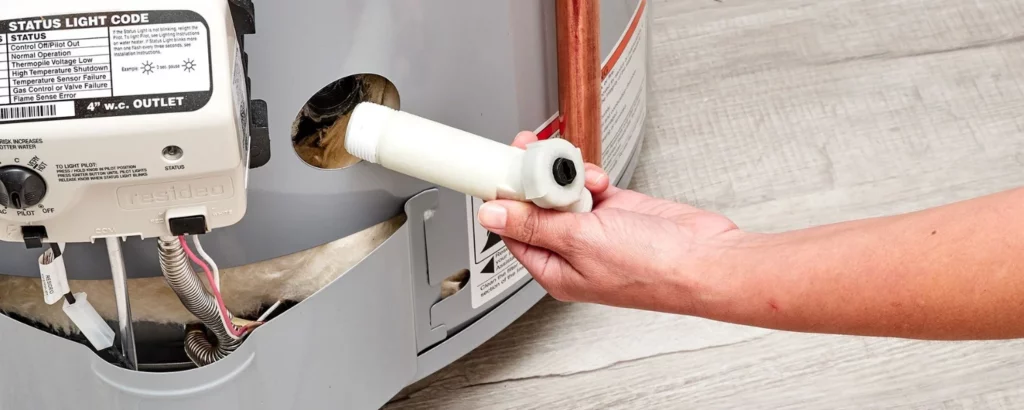
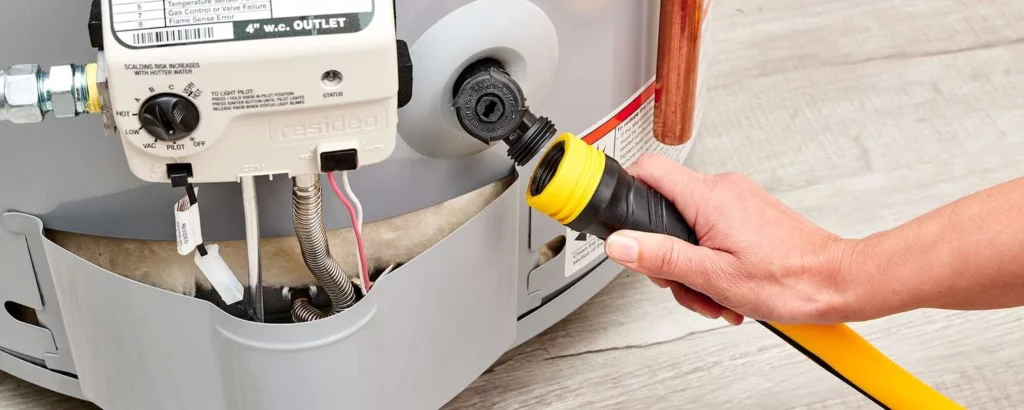
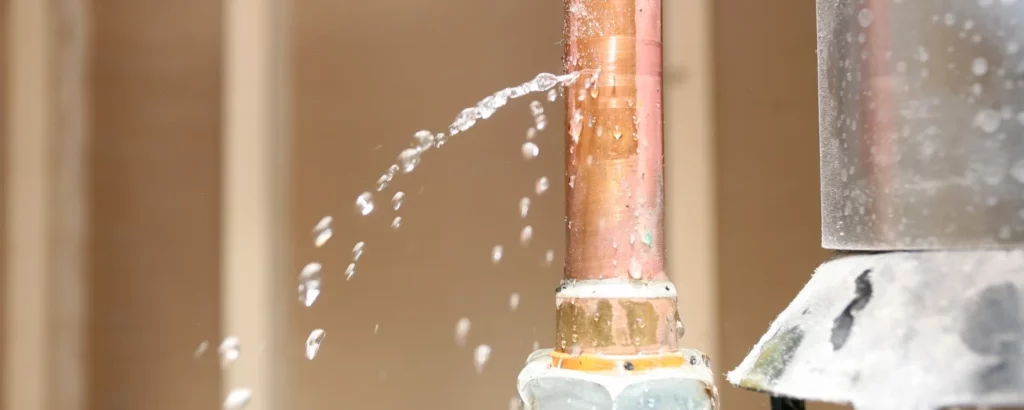
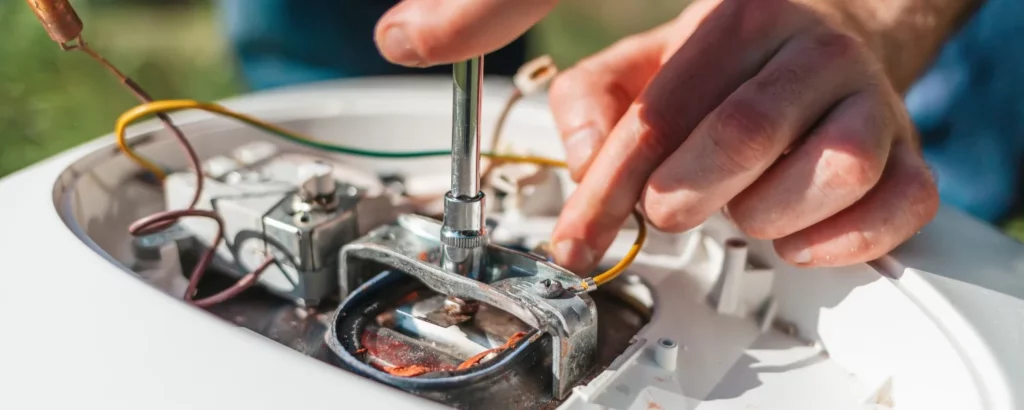
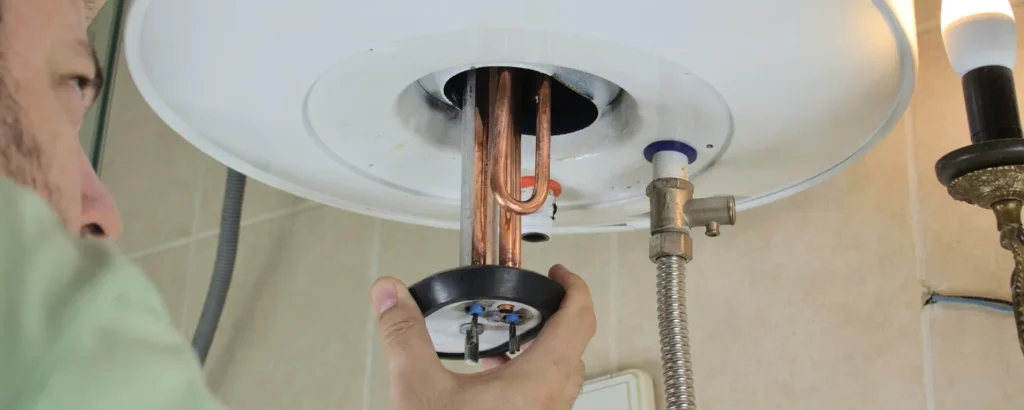
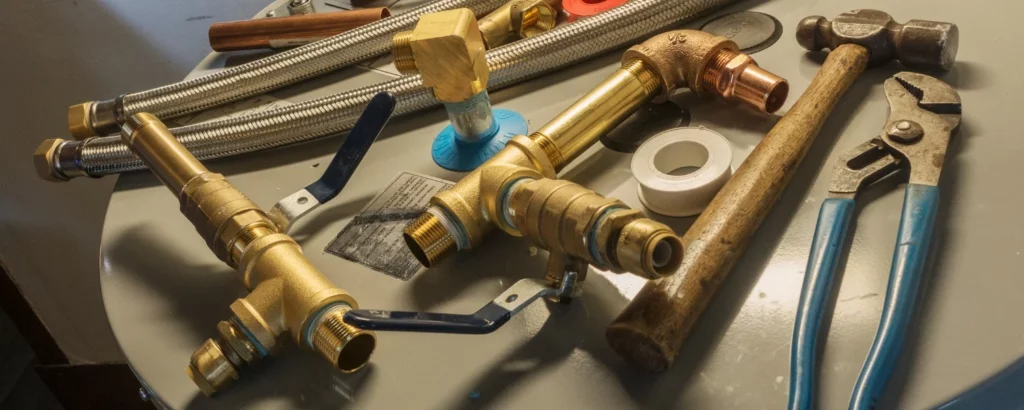
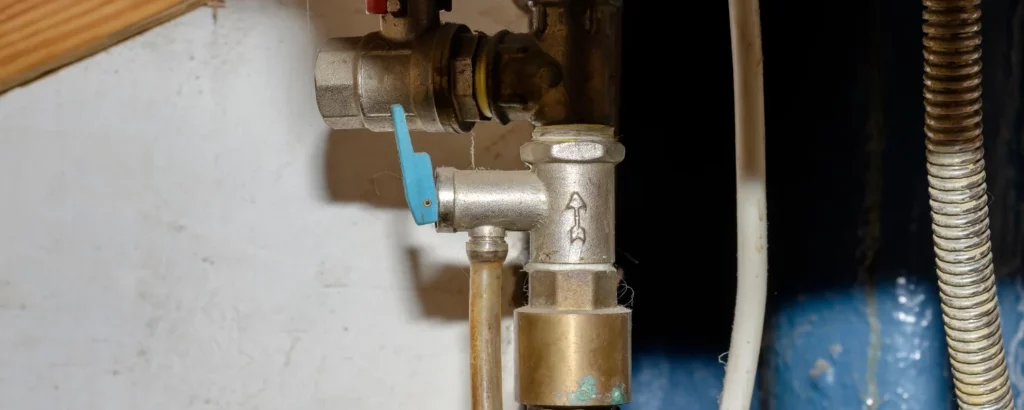
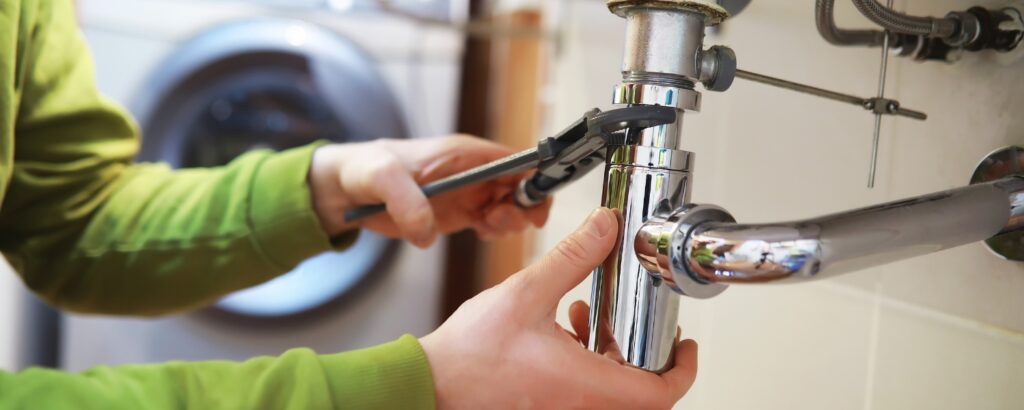
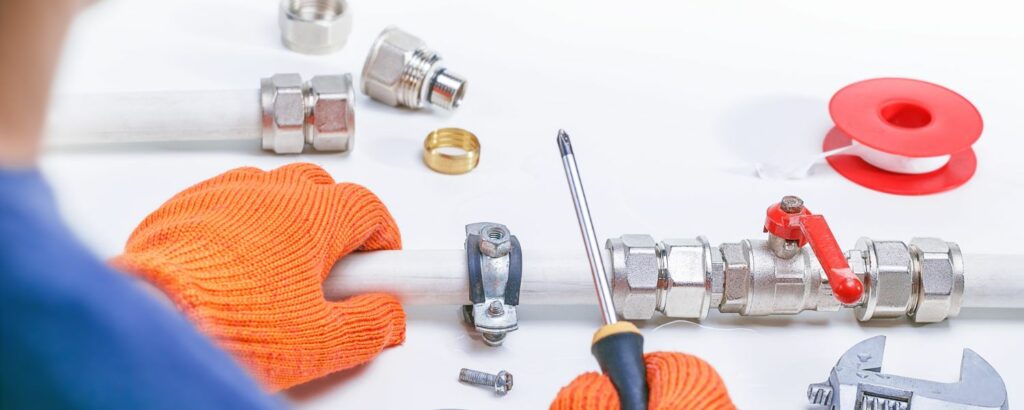
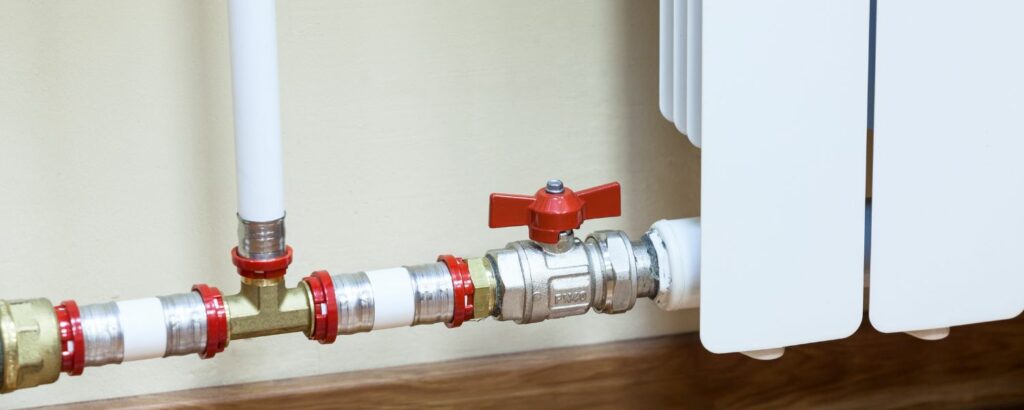
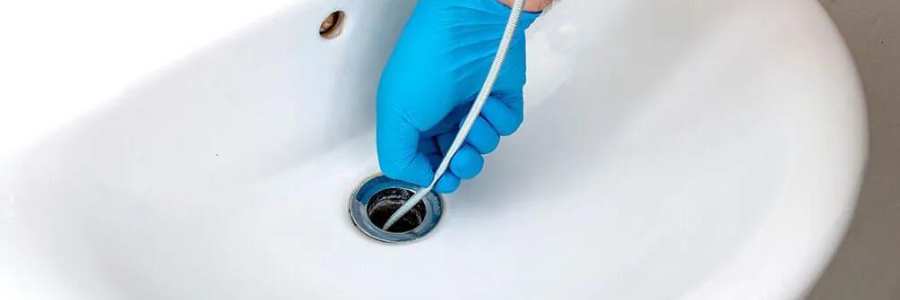
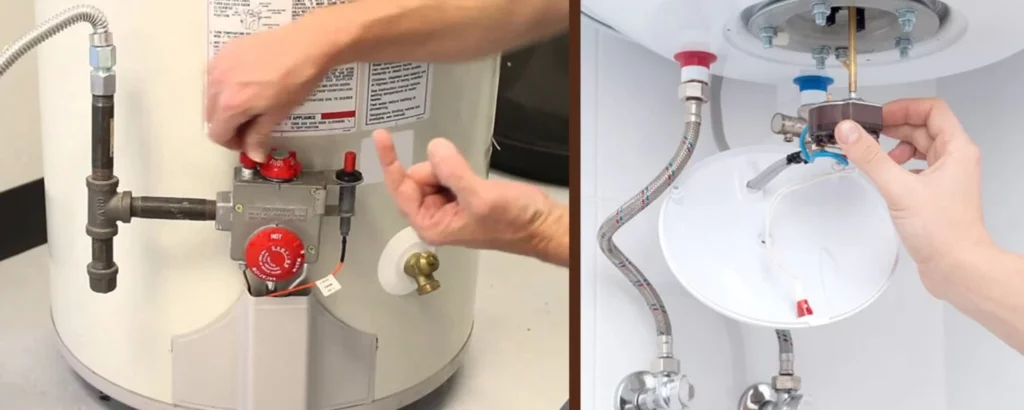
Attach Hose to Drain Valve
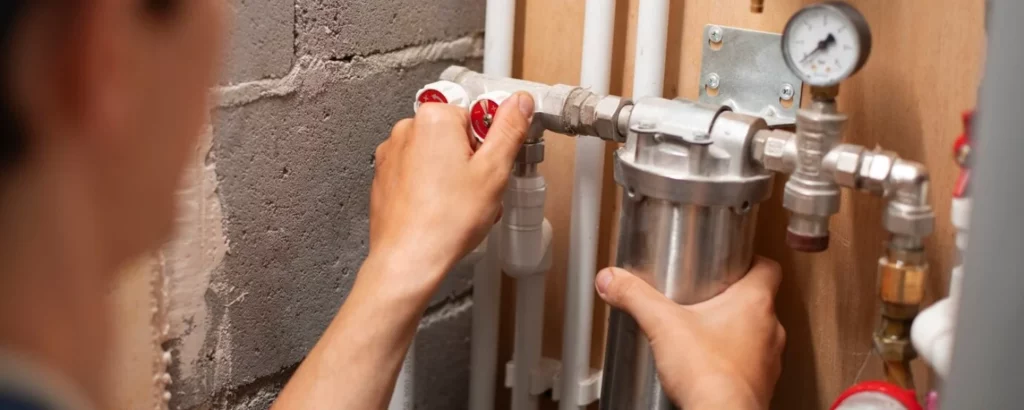
When attaching a hose to the drain valve of your water heater, it’s essential to do so carefully to avoid leaks or damage, especially if your heater has a plastic valve.
Start by locating the drain valve near the bottom of the tank.
Attach one end of a garden hose to the valve by screwing it on securely, ensuring a snug fit without over-tightening, which can damage the valve threads, especially in the case of a water heater with a plastic valve.
Position the other end of the hose in a floor drain, bucket, or outside where the water can safely drain away.
The hose is a conduit for the water to flow out of the tank, allowing you to direct it to a suitable drainage point.
Ensure the hose is securely attached to prevent leaks and that it is long enough to reach your chosen drainage area.
Once the hose is in place, you can proceed with draining the tank as per the rest of the instructions.
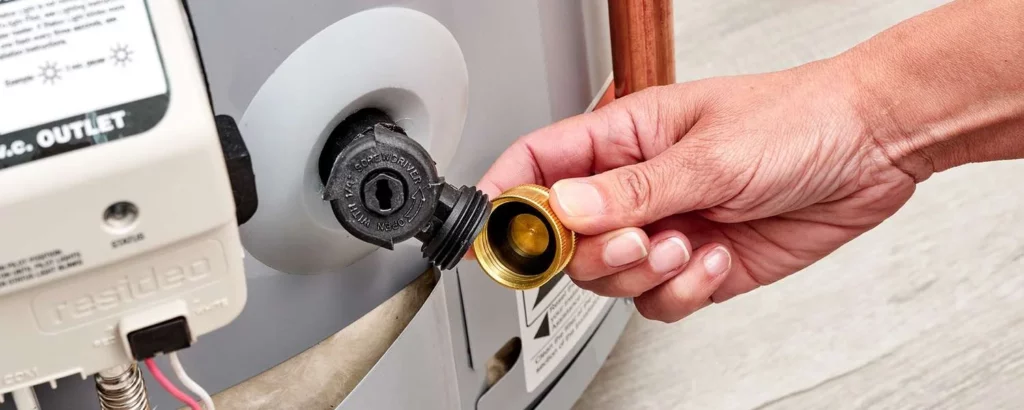
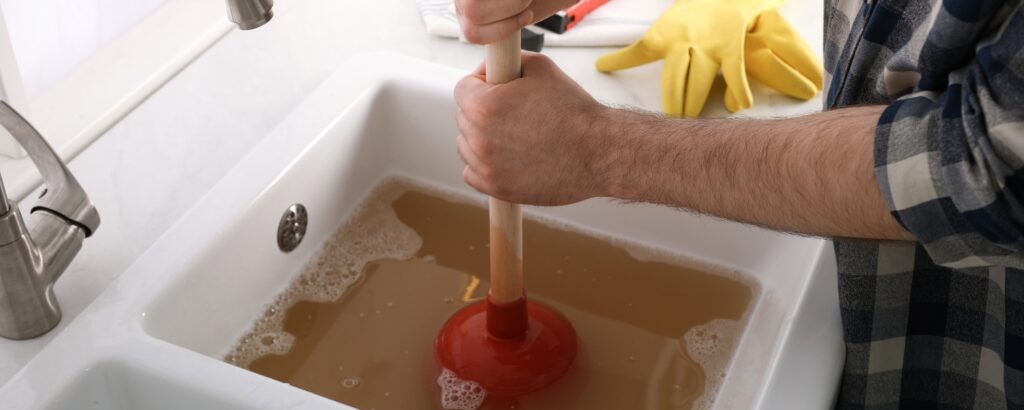
Open Hot Water Tap

Opening the hot water tap is crucial in draining a hot water tank. Doing so allows air to enter the tank, which helps facilitate the drainage process.
Opening a hot water tap elsewhere in your home, such as a sink or bathtub, creates a path for air to enter the tankless water heater, replacing the water as it drains out.
This prevents the formation of a vacuum inside the tank, which can slow down or even stop the drainage process altogether.
Opening the hot water tap also helps to release any pressure that may have built up in the tank, ensuring a smooth and efficient draining process.
Remember, keeping the hot water tap open throughout the draining process is essential for optimal results and how to drain a hot water tank effectively.
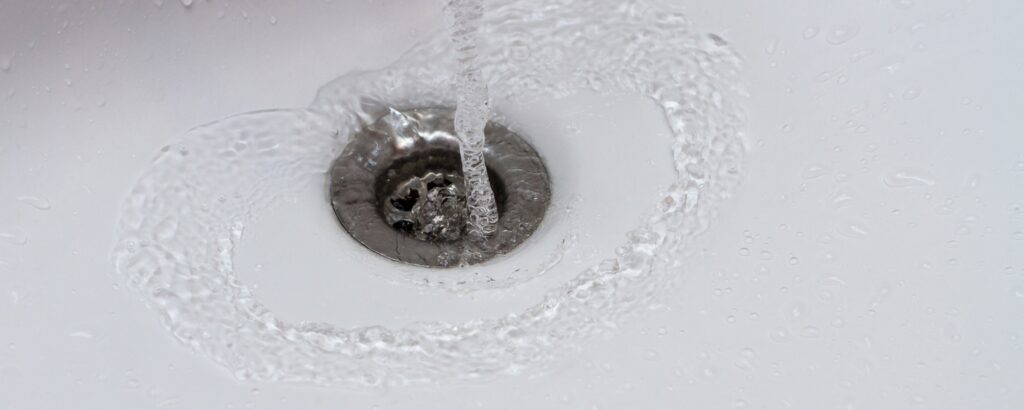
Allow the Tank to Drain Completely
Allowing the tank to drain completely is crucial in maintaining your water heater’s performance and longevity.
As sediment accumulates over time, it settles at the bottom of the tank, impeding heating efficiency and potentially causing damage.
By thoroughly draining the tank, you effectively flush out this sediment, ensuring optimal functionality.
This process also helps prevent corrosion and extends the water heater life span.
However, the draining duration can vary depending on factors such as the size of the tank and the amount of sediment present.
It’s crucial to exercise patience and ensure adequate time for the tank to empty.
Additionally, keeping a hot water tap open during draining facilitates airflow, expediting the process.
Allowing the tank to drain entirely regularly as part of your water heater maintenance routine ensures a reliable hot water supply and minimizes the risk of costly repairs.
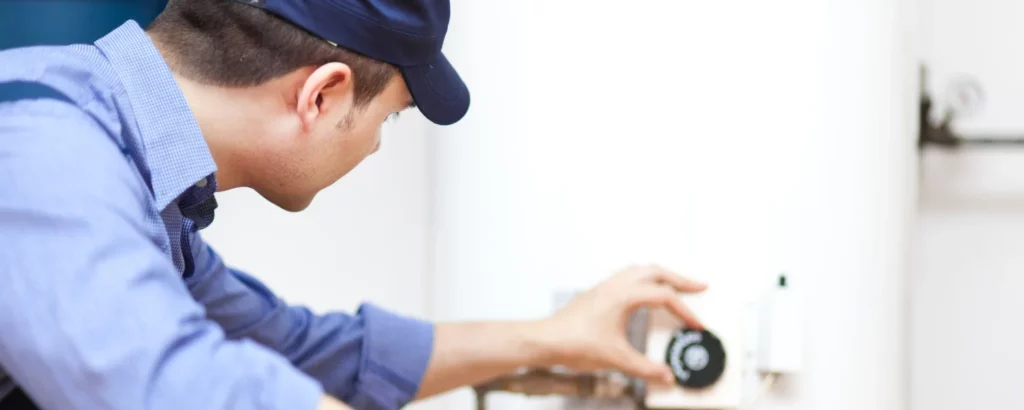
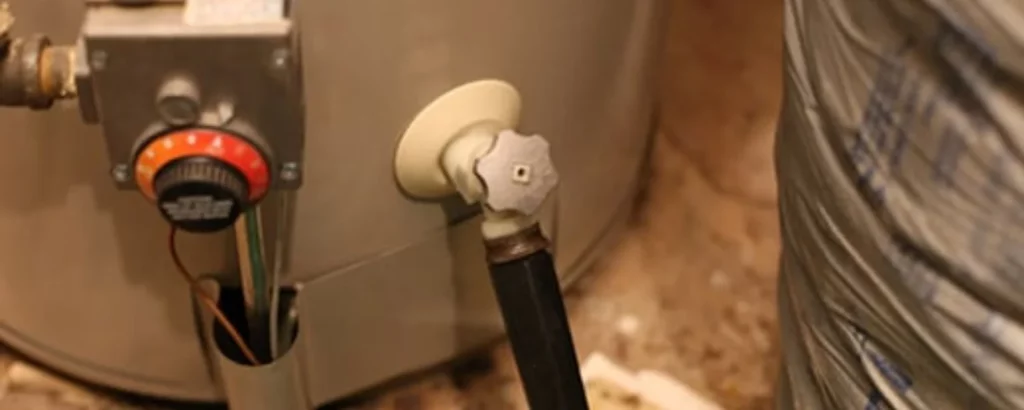
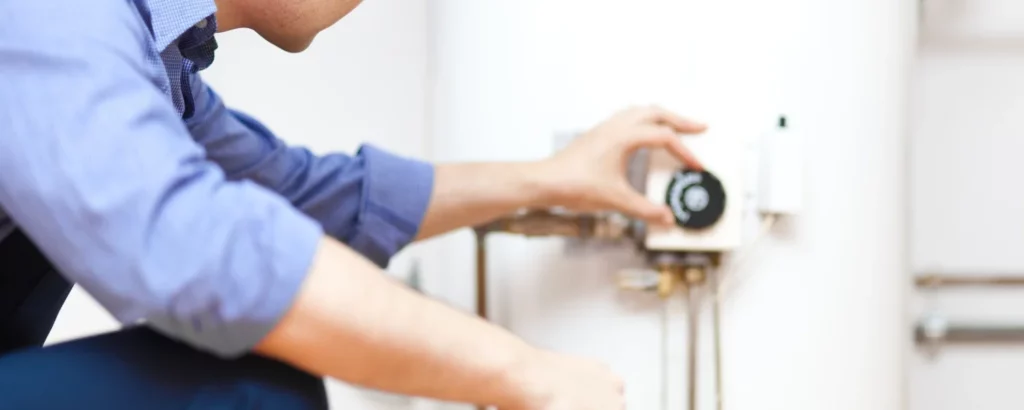
Turn on the Power/Gas Supply
After draining your hot water tank, it’s crucial to carefully restore the power or gas supply to ensure your water heater functions safely and efficiently.
For electric water heaters, locate the circuit breaker connected to the heater and switch it back to the “on” position.
This step reinstates the flow of electricity to the heating elements, allowing the tank to start heating water again.
If you have a gas water heater, locate the gas control valve and return it to the “on” position.
This action restores the gas flow to the burner, enabling it to ignite and heat the water.
Turning on the power/gas supply completes draining and prepares your water heater to resume regular operation.
Remember to follow the manufacturer’s instructions carefully and double-check all connections to ensure safety and prevent potential hazards.
Close the Valve, Restart the Water Heater
After ensuring the tank has drained completely, it’s time to close the valve and restart the water heater.
This step is crucial to ensure the heater functions appropriately and safely.
Closing the valve prevents any residual water from leaking out, maintaining the integrity of your plumbing system.
To restart the water heater, follow the manufacturer’s instructions carefully.
For electric heaters, flip the circuit breaker back on, and for gas heaters, turn the gas control valve to the “on” position.
Do not rush this process; improper restart could cause damage or malfunction.
Double-check all connections for leaks once the power or gas supply is restored.
This phase is critical to avoid potential hazards and maintain the efficiency of your water heater.
Restarting the water heater completes the draining process and ensures your system is ready to provide hot water efficiently.
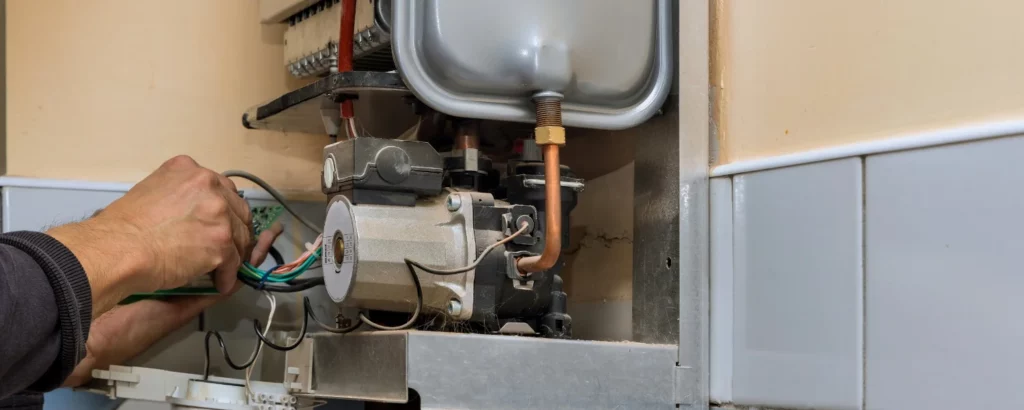
Check for Leaks
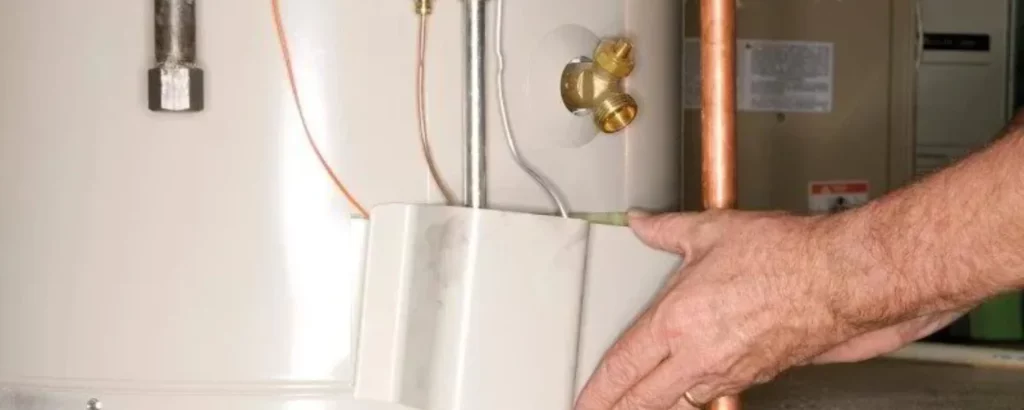
After restarting the water heater, a critical step is to check for leaks to prevent potential water damage and ensure the system’s integrity.
Start by examining the area around the drain valve and connections for any signs of moisture or dripping.
Take special care to inspect joints and fittings thoroughly, as leaks often occur at these points.
If necessary, use a flashlight to inspect dark or cramped spaces.
If you detect any leaks, promptly tighten the connections or replace damaged components, such as washers or seals, to prevent further leakage.
Pay close attention to any unusual sounds or smells, as they can also indicate leaks or other issues within the system.
Finally, monitor the area after addressing any leaks to confirm that the problem has been resolved effectively, thus maintaining the efficiency and reliability of your water heater system.
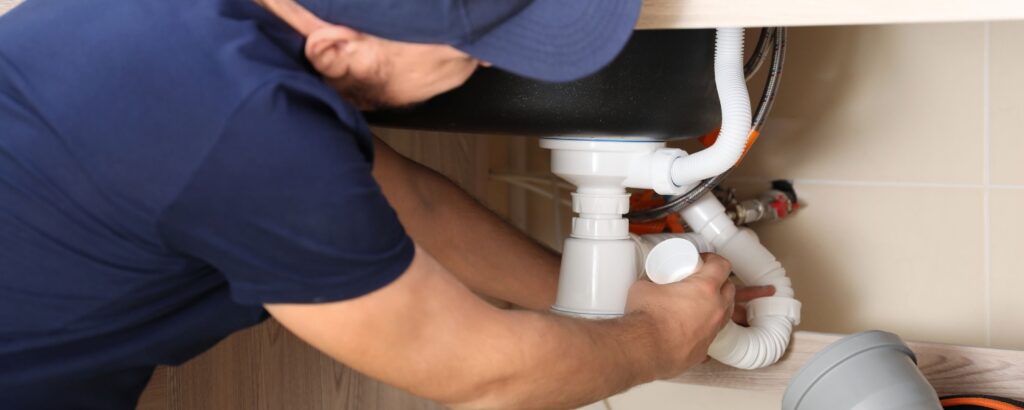
Refill the Tank

Refilling the tank is the final step in draining and water heater maintenance.
After draining the tank and checking for leaks, it’s time to replenish the hot water supply.
Turn the cold water supply valve back on slowly to allow the tank to fill gradually.
This helps prevent sudden pressure surges that could damage the tankless water heater or plumbing system.
As the tank refills, watch for any signs of leaks around the connections and drain valve.
Once the tank is full, turn off the hot water tap you opened earlier and check the water heater for proper operation.
Pay attention to unusual noises and ensure that hot water flows steadily from your faucets.
Regularly refilling the tank after maintenance ensures a steady supply of hot water and prolongs the lifespan of your water heater.
Conclusion
Consistently draining your water heater is a straightforward yet vital upkeep chore.
It aids in prolonging the longevity of your water heater and guarantees a dependable flow of hot water throughout your household.
Following the steps outlined in this guide, you can drain a water heater like a pro and keep your heating radiator system running smoothly for years.
Safety should always be your top priority when working with plumbing or electrical systems.
If you’re uncomfortable or unsure about any part of the process, don’t hesitate to contact a professional plumber for assistance.
Life Mechanical provides invaluable guidance on draining a hot water tank efficiently and safely.
Their expertise is evident in their comprehensive step-by-step instructions, ensuring homeowners can confidently perform maintenance tasks.
By following their recommendations, individuals can prevent potential damage to their water heaters and extend their lifespan.
Life Mechanical’s commitment to quality and customer satisfaction shines through in its detailed explanations and dedication to empowering homeowners with the knowledge they need to maintain their plumbing systems effectively.